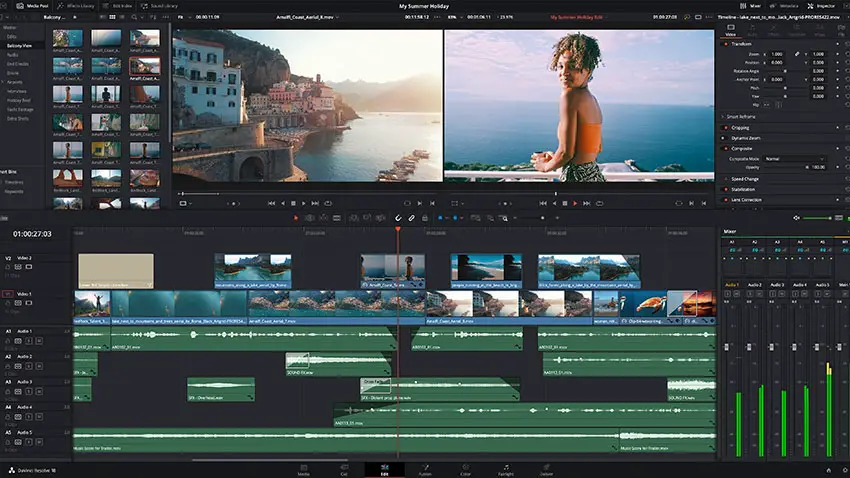
DaVinci Resolve remains one of the most powerful color grading tools available to filmmakers. It has skyrocketed in popularity in the past decade as Blackmagic Design has continued to improve on it while making it a full-fledged NLE.
If you have been editing with it and want to bring out the rich colors of your footage, then you’ll want a deeper understanding of all the tools available to you.
One area to look at is using HSL and HSV. It can be intimidating at first, but as usual, we have Alex Jordan at Learn Color Grading to turn to for a very detailed and informational tutorial.
As you might expect from the person running FilmSimplified, this method only requires one node to achieve. Getting deeper color with only a single node seems good to me.
What he means by this is to create a more saturated image without it turning into a too-exaggerated and, frankly, bad-looking image.
He is going to use a couple of color spaces to make this work. There are a lot of color spaces with many following a common three-letter naming convention.
Most people will be working in an RGB space, which gives you control over the image in the red, green, and blue channels. That is how all your tools will generally be set up.

Image Credit: Blackmagic Design
You can remap these control by selecting a different color space. He selects a node and chooses the HSL color space for it. This represents hue, saturation, and luma/lightness. If you try playing with your usual tools you’ll see that colors will go crazy doing what you might’ve considered basic adjustments.
Anyway, what you need to know is that you have now remapped the controls to HSL from RGB. Looking at your three controls, you’ll see that now R is for Hue, G is for Saturation, and B is for Lightness. The controls won’t change, but they will control the new color space.
All of the three-letter color spaces are essentially just remapping the controls. Try it with a few others.
The other one he wants to discuss is HSV, which is Hue, Saturation, and Value. The benefit of this space is that you can adjust brightness without changing the saturation.
If you just do a simple saturation adjustment on your image, you’ll likely notice that increasing/decreasing saturation will adjust the brightness of the affected colors in the image.

Image Credit: Blackmagic Design
Switching to HSV should help fix this because the controls now adjust saturation independent of brightness. To keep things simple, he recommends using the gain controls for this method.
Just increasing the saturation here shows how you can increase the saturation without messing with brightness and this may very quickly just look a lot more appealing. You’ll need to watch out for all parts of the image though.
Jordan explains that the blue channel is of particular note as the tool uses the blue channel to achieve the effect. This means it can become aggressively saturated if you aren’t paying attention. Keep an eye on the blues, though you can always add a new node, and use Hue/Saturation to take the blue back out.
This method is a bit of an uncontrolled method as you might’ve figured from the blue channel fun. Secondary corrections are useful for getting things looking right. Using tools like Auto Color before doing this can make it even more noticeable.
Still, the speed and ease with which you can get better colors can make this a very useful tool for many editors.
Have you ever used alternate color spaces? Think you might try out HSL and HSV now? How about LAB?
[source: Learn Color Grading]
Order Links:
Disclaimer: As an Amazon Associate partner and participant in B&H and Adorama Affiliate programmes, we earn a small comission from each purchase made through the affiliate links listed above at no additional cost to you.


