We are certainly not at a loss for cameras these days. The sheer quantity and variety of rivals makes everything a bit more interesting though it can make it hard to understand which ones might be right for different tasks or jobs.
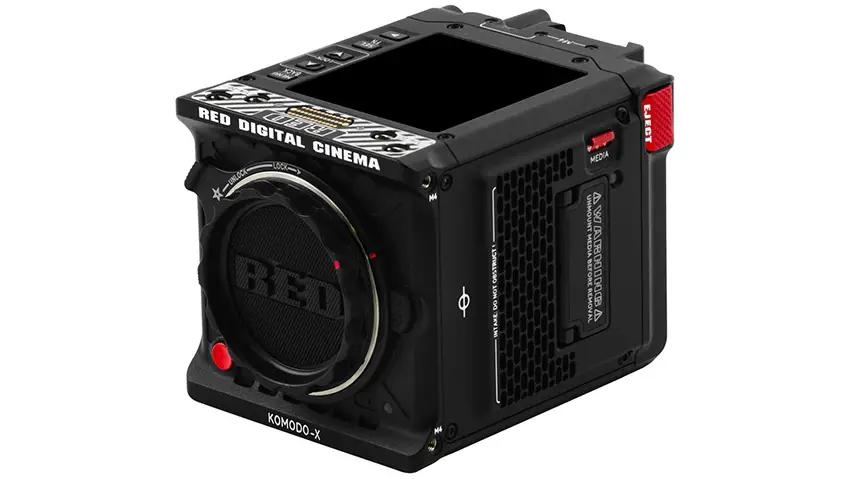
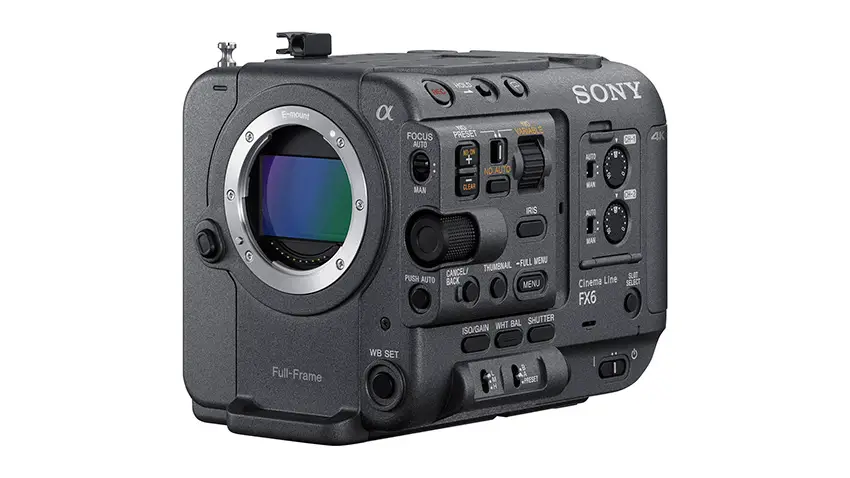
Even RED is adding to the mix with an upgraded KOMODO-X to provide more options for filmmakers. It’s new and all, but how does it compare to other options, like say the Sony FX6?
This is potentially an odd comparison as these cameras differ in some fairly significant ways. If you want to see how they look in a head-to-head comparison we can thank cammackey for putting this video together.
The video above starts with the now common blind comparison between the two cameras. Go ahead, take a stab at guessing which is which first.
Now, to preview the KOMODO-X, Cam points out that compared to the original KOMODO, the X model actually is a near perfect match in color with RED’s other cameras, like the RAPTOR.

Image Credit: RED
This is good for many reasons, except that the original KOMODO tends to produce a magenta shift in the skin tones under certain circumstances.
Image Credit: REDFurthermore, RED does have a big advantage when it comes to codecs as it uses RED’s 16-bit Raw files. The Sony’s internal recording tops out at 10-bit. This gives the KOMODO-X slightly more color fidelity and, hopefully, a better-looking image.
To do the comparison the footage is brought into DaVinci Resolve, converted to ARRI Log and then using the same conversion LUT to either a film emulation or ARRI 709.
Now looking a bit closer at the footage, it seems that the FX6 video is actually coming out of camera a bit more saturated.
If you look at the captured material closely, you can see how in the details the RED can produce a smoother gradation in color throughout the shot.
The blue from the sky is seen more in the model’s face and clothing. It’s the benefit of 16-bit recording. The FX6 has it kind of smoothed out in the finer details.

Image Credit: Sony
The tool used with the FX6 footage (which can apply to most cameras) to get it closer to something like the RED seems to be the Color Warper. Once there, you can select the Chroma – Luma adjustment.
This tool is easy to use as you just head to your footage and click on the area you want to adjust. In this case, the focus is on the skin tones which therefore affects the entire image.
If you want to be more precise with your tweaks, you can turn on the Auto Lock function which focuses on a single point on the graph to keep it more exacting.
It makes the video look closer to the higher bit-depth RED footage. It isn’t perfect, but it is a simple way to get to a better place with your videos.
What did you think about the comparison and the trick?
[source: cammackey]
Order Links:
Disclaimer: As an Amazon Associate partner and participant in B&H and Adorama Affiliate programmes, we earn a small comission from each purchase made through the affiliate links listed above at no additional cost to you.


