In-camera noise reduction is an often maligned option for many cameras. Traditionally, this option would leave you with mushy footage that lacked clarity and detail.
That isn’t always the case today. Sometimes these noise reduction algorithms can help get you to a better place straight out of camera instead of ruining your footage.
The key word there is sometimes. Different cameras and brands handle noise reduction very differently and you’ll still need to be careful.
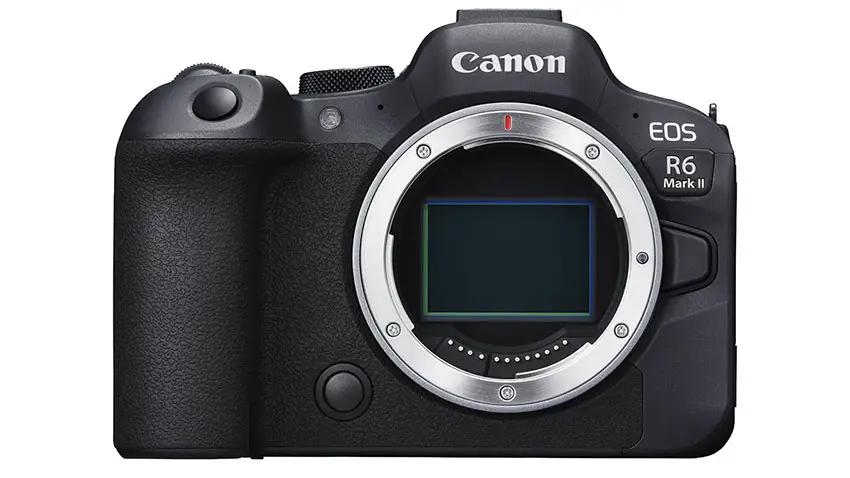
If you shoot Canon you do have a helpful resource in filmmaker Josh Sattin who went and tested his EOS R6 Mark II to see if the in-camera noise reduction is worth using or something to avoid.
Noise Reduction Settings
Before we get started we should thank Canon for actually giving users the options to change the noise reduction setting. Not all brands do this for their mirrorless models.
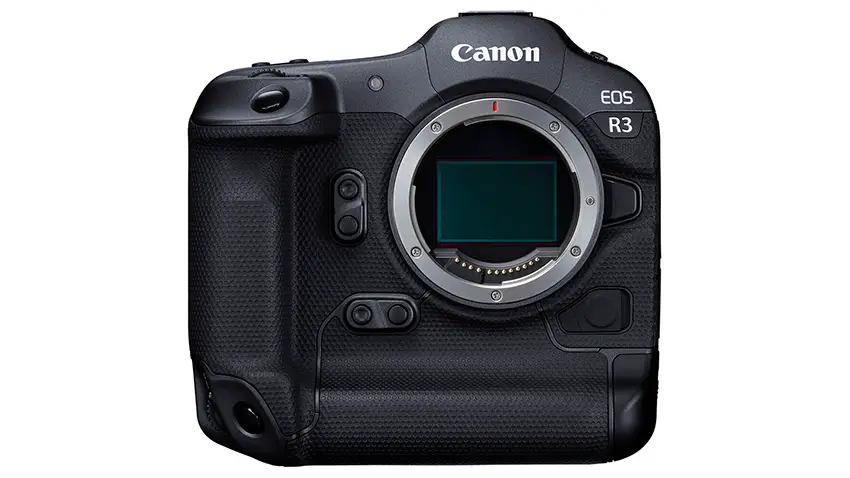
Focusing in on Canon we have Josh using the latest R6 Mark II. It is the newest release in the R Series, but much of this information should apply to many of Canon’s other mirrorless cameras, such as the R5, R3, or even R7.
To change these settings you’ll need to head into the menu. Under the camera settings on page 5 there will be a High ISO speed NR option.
You will be able to select between High, Standard, Low, and Disable. Standard is likely how your camera came when you pulled it out of the box. It is on the stills setting but will affect video quality.

Image Credit: Canon
Testing Parameters
This is a simple test. The camera is set to Canon Log 3 in 4K 24p IPB which is a 6K oversample and at the highest possible internal recording quality. Setting the exposure to ISO 800 with zebras and a grey card will be where the camera starts.
To keep the exposure constant he adjusts the shutter speed alongside the ISO setting. All the shots were exposed the same way and the color grade was copied from one clip to all the others.
All the tests are then shown at 250% and the test scene includes a color chart and his face.
Types of Noise
Josh does a little bit of education on noise types which is a helpful primer if you are new to this. He points out there are two main types: chroma and luma.
Luminance (aka luma) noise is the general patterns you are likely used to as it is very reminiscent of film grain.
Chroma noise is when you see the color shift or see color spots showing up in the image. Chroma noise is considered to be a bit uglier than luma.
Also, just as a side note, the R6 Mark II has an unofficial second base ISO of 3200.

Image Credit: Canon
Low Noise Reduction
Starting off the test is the low setting. You can see that skin tones are slightly different. The color chart 600% zoom does seem to reduce some of the chroma noise. Luma noise seems to be about the same as with the noise reduction disabled.
There doesn’t seem to be much noise reduction happening besides the chroma noise until about ISO 6400 and even then it is subtle.
Standard Noise Reduction
Standard seems to be very similar to Low when it comes to the low ISOs. Again at ISO 6400 you can see it start smoothing things out.
It is a touch stronger than low, as is to be expected, and so you are going to be giving up some details in your image for the reduced noise.
High Noise Reduction
With High, you will see it kick it sooner and stronger. Around ISO 3200 you’ll see your footage smoothing out quite a bit.
Beyond that, you will lose a fair amount of detail pretty quickly. This is definitely a setting to avoid for maximum detail.

Image Credit: Blackmagic Design
Removing Noise in Post
Reducing noise in post is long considered to be the best option for getting the best image quality. Working in Final Cut Pro he is using the standard noise reduction tool with the settings set to high. This is a straight comparison to the standard noise reduction in camera.
In this situation, the in-camera actually looks pretty good, maybe even better than in post. Keep in mind this is with default tools in Final Cut. If you opt for something like Neat Video or Topaz Labs AI you can likely get something much better.
Even at different setting the in-camera options seem to beat out the Final Cut tool.
Conclusion
Surprisingly he recommends using the low noise reduction setting pretty much all the time since it isn’t too aggressive and cleans up that ugly chroma noise very well.
If you do have better noise reduction specific tools like Neat Video or even Resolve, those are worth experimenting with. Keep in mind that if you plan on using this often that it is very heavy on your computer.
You’ll definitely need a beefy system to use noise reduction regularly. If you don’t have that then in-camera might be a better option to get you to the finish line.
What do you think about in-camera noise reduction?
[source: Josh Sattin]
Order Links:
- Canon EOS R3 Mirrorless Camera (B&H)
- Canon EOS R5 Mirrorless Camera (B&H, Amazon)
- Canon EOS R5 C Mirrorless Cinema Camera (B&H, Amazon)
- Canon EOS R6 Mirrorless Camera (B&H, Amazon)
- Canon EOS R6 Mark II Mirrorless Camera (B&H, Amazon)
- Canon EOS R7 Mirrorless Camera (B&H, Amazon)
Disclaimer: As an Amazon Associate partner and participant in B&H and Adorama Affiliate programmes, we earn a small comission from each purchase made through the affiliate links listed above at no additional cost to you.


