iPhone footage, or any smartphone footage for that matter, isn’t exactly known for being easy to work with. The smaller sensors, compressed footage, and very limited controls don’t exactly add up to being a great overall camera system.
However, iPhones do take some shockingly good-looking footage these days – even up to 10-bit in HDR!
You will still need to learn a trick or two to make the most of the video that comes out of your iPhone. The experts at iPhoneographers have spent some time dealing with Apple’s settings and video and found a neat hack for getting a good color grade.
Usually if you are planning to do some serious video recording with your iPhone you might go download an app like FILMIC Pro and record in log to get the most out of the clips and establish a more “professional” workflow.
In this video, he is going to focus on what you should do when you have the standard look applied.
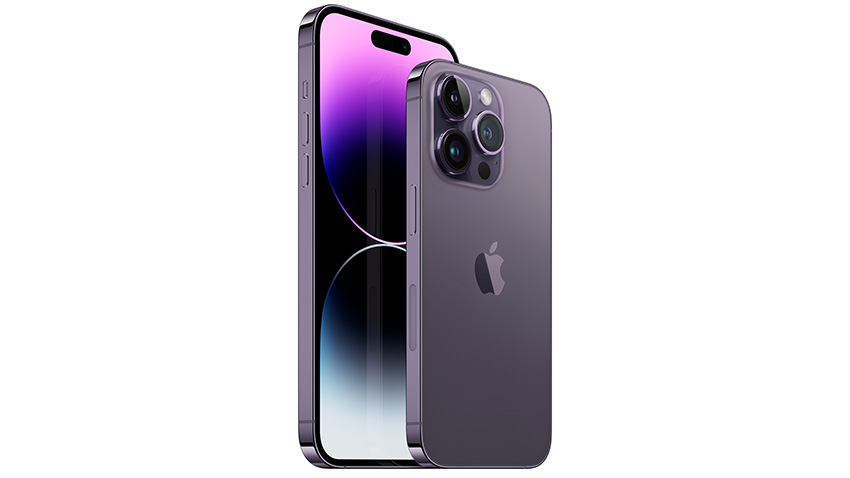
Starting off he runs a basic test with the iPhone 14 Pro Max, a color chart, and a his usual apps.
This includes FILMIC Pro so that he can check his settings to work as the baseline. It’s at 1/48 second shutter and ISO 57 recording in 10-bit HEVC.

Image Credit: Apple
He is going to run this test again with standard video and Cinematic Mode with the native camera app.
You can actually see a few differences right away. The native app appears to have a slight crop already because of the stabilization system. Plus, he set the exposure to -0.3 EV to match it up better. He shot in 8-bit HEVC to start.
Cinematic Mode is configured in nearly the exact same way. He does set the aperture to f/8 to get a slightly deeper depth of field effect. You can’t lock the exposure and white balance in this mode either, so you’ll need to be careful.
Looking at the footage compared you’ll see the native camera app has a slightly cooler auto white balance than the setting chosen for FILMIC Pro. Then, the Cinematic Mode has an even more contrasty and warmer look than the standard video in the native app. That’s a bit odd.

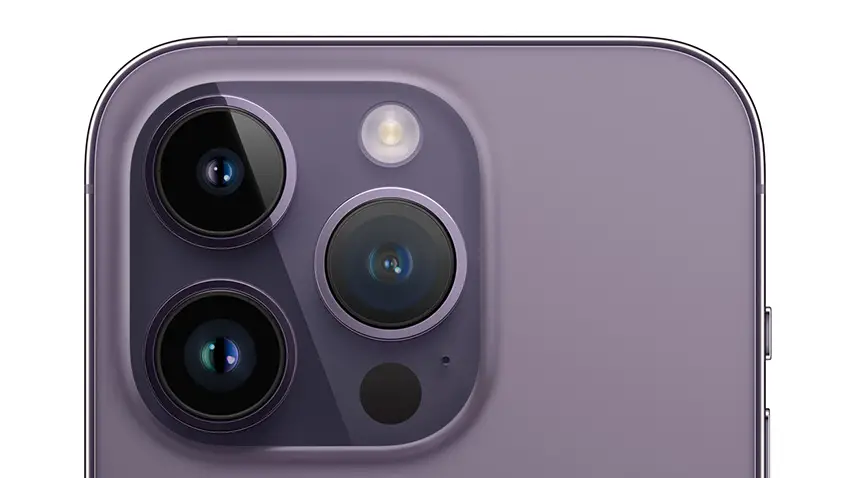
Image Credit: Apple
They created a few LUTs, called the Subtly LUTs, that will correct each of these to match up better. Add on some minor color correction and you should have a good-looking shot.
Doing some extra testing outside and using the LUTs you can see how the clips are affected by the correction. It does make it look a little less video-y with all that contrast and saturation.
One trick for shooting with the iPhone and getting a pseudo-log profile is to turn on HDR. This will record in a iPhone-specific Dolby Vision profile that will play back in true HDR on compatible devices and apps.
However, when pulled into a regular NLE like DaVinci Resolve or Premiere Pro it’ll work like an HLG (Hybrid-Log Gamma) clip in an SDR timeline with a greater amount of flexibility. These will work in Cinematic Mode, too.
This process will work with ProRes or compressed footage options and is designed for the standard profiles. You can replicate this process on your own to create a basic corrective LUT that you like without needing to purchase the Subtly LUTs. Or, you can purchase them and support the work that has already been done.
Do you use your iPhone for serious video work?
[source: iPhoneographers]
Order Links:
- Blackmagic Design DaVinci Resolve Studio (B&H, Amazon)
- Adobe Creative Cloud (B&H, Amazon)
- Adobe Premiere Pro CC (B&H, Amazon)
Disclaimer: As an Amazon Associate partner and participant in B&H and Adorama Affiliate programmes, we earn a small comission from each purchase made through the affiliate links listed above at no additional cost to you.


