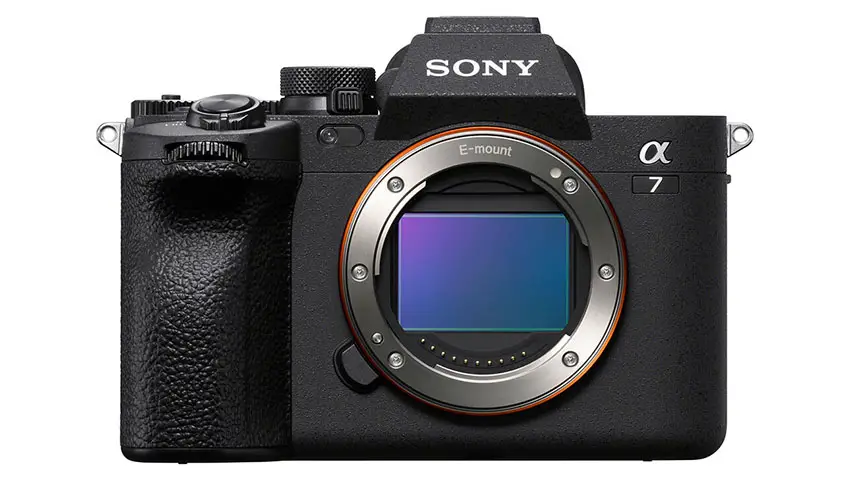
Understanding log gammas and how they work is one thing. Making sure you are exposing and using them properly when working quickly on location is another.
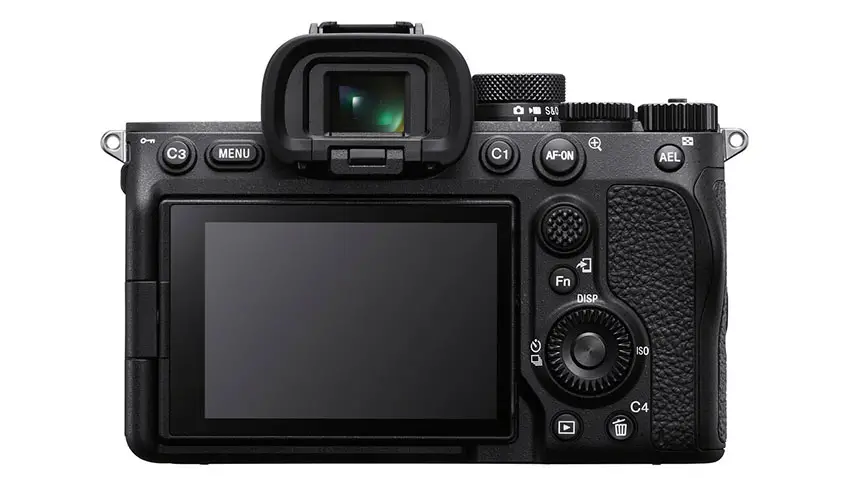
This is definitely not as easy when working with mirrorless cameras like the Sony a7 IV and S-Log3 since they lack all the advanced monitoring capabilities of traditional cinema cameras. There are some options still available.
If you want to learn how to quickly work with S-Log3, including exposure and white balance, you’ll want to check out this video from Matt WhoisMatt Johnson. He goes through the details specifically for the a7 IV, including knowing which ISO settings to stick with.
First things first. You’ll want to make sure that you are in the right Picture Profile. PP8 is the default option and it should have S-Log3 as the gamma with S-Gamut3.Cine set as the color mode.
You can hit reset on PP8 if for whatever reason this isn’t set to this anymore.
Exposing S-Log3 Properly
Exposure is key to getting the most out of S-Log3 since if done improperly it can result in excess noise.
As with most of Sony’s cameras, the trick is to overexpose to minimize noise after grading.
To check where your exposure sits there is the basic exposure indicator on the display. In most cases, it’ll say “MM” for multi-metering mode right next to a simple number with a plus or minus sign.

Image Credit: Sony
The camera should read 0.0 when the camera is “properly” exposed. It’ll shift and say +x.x or -x.x depending on the actual exposure. Ideally you’ll want this to read between +1.7 and +2.0 stops.
Watch out to make sure that the +2.0 isn’t blinking because that means it is actually over two stops.
Setting Up Zebras
Making sure you aren’t losing data by overexposing you should set up your zebras. It’s a very obvious way of seeing it on the camera display.
In the Zebra Display menu, you are going to want to set a custom range. He uses C2 for S-Log3.
Heading into the range for this he sets the Lower Limit to 94+. When you test it out the footage will not show zebras until you hit the 94 range which is when S-Log3 is going to start clipping.
Look at what you are shooting. Zebras in the sun in the background may not be a problem, but on someone’s face is something to avoid.
ISO Settings
ISO is an area you will need to understand to get the best dynamic range out of the camera. An immediate thing to recognize is that you won’t want to dip below ISO 800. ISOs 640 and lower are not “true” options.

Image Credit: Sony
The recommended base ISO for the a7 IV is going to be 800 for the best possible dynamic range.
Moving below the base ISO will cause zebras to stop working properly and then it’ll start digitally clipping at a lower level. Using aperture adjustments, shutter speed, or ND is the better solution.
When working in low-light your issue will be finding the best ISOs above the base to work with. The camera does have a dual base ISO function, providing a second, higher setting that maintains top dynamic range.
In S-Log3 the two base ISOs are 800 and 3200. In low-light ISO 3200 will create an image with minimal noise.
You can go higher if you need, but these are the sweet spots.
That is all you need to know to start getting some results.
[source: Matt WhoisMatt Johnson]
Order Links:
Disclaimer: As an Amazon Associate partner and participant in B&H and Adorama Affiliate programmes, we earn a small comission from each purchase made through the affiliate links listed above at no additional cost to you.


