Getting a clean key off a green screen is heavily dependent on how you shoot it. Taking the necessary steps and precautions to create a nice, evenly illuminated background is critical to getting a great green screen effect in post.
Assuming you already got there and are sitting in Premiere Pro with a clip you want to apply a key to you’ll now want to know how to get a clean key.
Jordy from Premiere Basics has a good tutorial on doing just that and to prove it he uses some extremely tough sample footage that includes him wearing a wig that has so many stray hairs that are the bane of green screen keyers.
Okay, let’s dive right in. With the clip on the timeline go and select it and head to effect controls where you will find opacity. You’ll want to select the pen tool and draw a mask as tight as possible around your subject. This is the “garbage” mask that eliminates all the extra garbage from the frame that is easy to eliminate.
Now go find the “Ultra Key” effect in the Effects Library and drag it over onto the clip. Use the effect’s color picker to select your green screen. You’ll likely want to choose an area close to your subject to get the best results. You will also want to hold the Control (Windows) or Command (Mac) key as you select since this will slightly increase the sampling area. Once that is done you should get a fairly good result off the bat.
What may still be causing you some pain is the noise. Here you will want to go find the Denoiser effect or a plug-in of your choosing. Jordy recommends the Red Giant plug-ins though you can do just fine with the built-in tools.
Heading back to the Ultra Key controls you’ll want to go to the Matte Generation section to find the fine controls. Before you mess with these you’ll want to change the Output to Alpha Channel. This will show you the pure matte.

Image Credit: Adobe
The matte generation controls will effect different aspects of the image and you will want to pay close attention that you are eliminating the areas you want and not negatively impacting the subject. His recommendations are to avoid messing with the transparency and tolerance while making reasonable changes to the remainder. Get it as close as you can.
Choose a background and throw it on the bottom track to preview the entire effect now. Make sure you change the output back to composite to make sure it looks normal. The key should look pretty good though there is likely some spill.
Matte Cleanup is the next set of tools to use though they aren’t recommended. Choke is used to get rid of any green edges you may have, Soften will soften the edges but it should be avoided, and Contrast along with Mid Point will impact things like hair. If you need to use these you probably don’t have the best footage to work with.
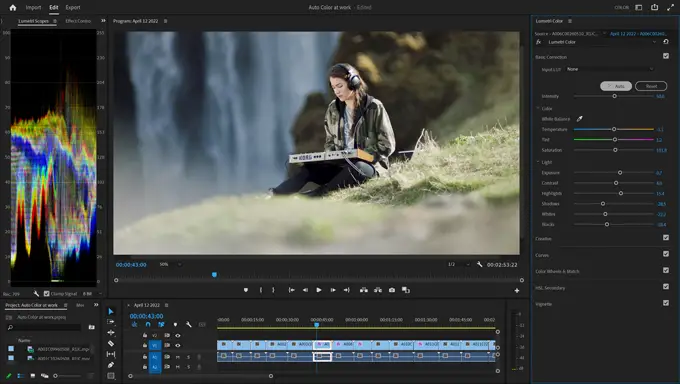
Let’s look at spill. You could use spill suppression but there is a better way of handling this in Lumetri. Using the HSL Secondary tab you should use the green key. In the hue slider, you’ll want to start pushing it in one direction, probably towards yellow in this case. You’ll start seeing sections like the hair being pulled in since it picked up a slight green hue.
What you can do now is apply a simple grade to get rid of that spill. Either with desaturation or using the tint slider to add some magenta. This should eliminate the little bit of green in there. It should be looking very good now. Maybe it is done.
In some cases, you might still have some areas within your subject that picked up a bit more of the green and got keyed out. If it is wholly within your subject and not adjacent to the green screen a simple solution is to duplicate the clip, remove the key, and then just apply a simple mask to the area you want to bring back. You can track the mask if you need it.
This is a great resource if you are getting started with green screens in post. If handled well it can open up a whole range of possibilities.
Have you used green screens before? Does this seem like an effective method?
[source: Premiere Basics]
Disclaimer: As an Amazon Associate partner and participant in B&H and Adorama Affiliate programmes, we earn a small comission from each purchase made through the affiliate links listed above at no additional cost to you.


