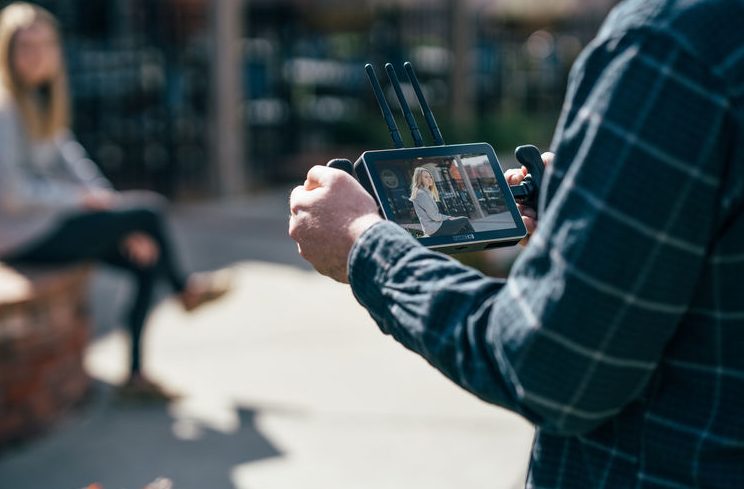
On-camera monitors are a sensible upgrade for many videographers. However, unless you have some extra income they can be an unfortunate cost that simply isn’t worth it at this time. Unless, perhaps, you could get that cost down from a couple hundred bucks to around $30. That’s what Scott Yu-Jan is aiming to do with this tutorial.
It’s an interesting and fun little project if you are up for it. Getting all the different components yourself you can, literally, put together your own 5” HDMI monitor for use with a camera. DIY is usually the best path if your aim is to save some cash.
Personally, I think going for a relatively affordable on-camera monitor has advantages that you just won’t get with this project. Still, seems like fun and it is certainly a way to save money.
It starts with picking up a 5” Raspberry Pi Display. It has mounting points and comes supplied with hardware. This runs under $30 and then you pick up some miscellaneous parts to put the whole thing together.
The shopping list:
- AAA Battery Holders
- Buck Converter Step Down Module
- Toggle Switch
- 1/4”-20 Hex Nuts
- HDMI Cable and 90º Adapter
Along with these pieces, Scott created a very simple 3D model and printer to hold everything together. You could do that as well if you have the means and tools. Also possible to consider ordering a functional case from an online service.
Another plan he shows off is using the acrylic from a cheap picture frame which he carefully measure and cuts out to create a holder for the screen. The process is time consuming but actually quite cool to see it done just using everyday tools. He even bends it a bit by heating it up over the stove. After all this he has a usable little case that cost practically nothing.

Image Credit: SmallHD
Next is piecing the electronics together. Scott explains super well by drawing out the diagram alongside the pieces. The battery holder connects to the switch, which connects to the buck converter, and then will deliver the necessary 5V to the display. You will need five AAA batteries to power the screen.
With everything connected and in the case you are pretty much ready to go. Pick up whatever HDMI cable you prefer and just hook it up.
In his tests the 5 AAA batteries will power the display for a little over 2 hours. Very nice for a $30 monitor. Now, this isn’t a super color accurate monitor or even that bright. However, if all you need is a quick preview it’ll do that just fine.
Would you try this out yourself?
[source: Scott Yu-Jan]
Order Links:
- 5” Touch Display for Raspberry Pi (Amazon)
- AAA Battery Holders (Amazon)
- Buck Converter Step Down Module (Amazon)
- Toggle Switches (Amazon)
- 1/4”-20 Hex Nuts (Amazon)
Disclaimer: As an Amazon Associate partner and participant in B&H and Adorama Affiliate programmes, we earn a small comission from each purchase made through the affiliate links listed above at no additional cost to you.


