If you are getting a mirrorless camera to shoot video, you can be certain of two things. First, that you will get surprisingly good image quality today. The second is that you almost certainly will need to get a cage and build up a decent rig to use it effectively. The Sony a7 IV is no exception.
While it is even better at video that its predecessor (by a far margin, too), the overall design of the mirrorless camera hasn’t improved specifically for video shooters. Planning on picking up an a7 IV or just received yours? Well, here’s a walkthrough from Chris Brockhurst on the types of bits and pieces you’ll need if you want to build your own rig.
This rig has been designed to make it easier to hold and operate as well as add accessories. It is also mostly built with SmallRig pieces, which are a well costed and designed set of options in the rigging world.
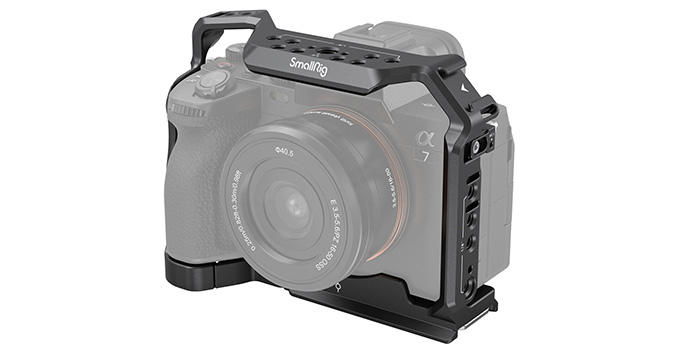
Image Credit: SmallRig
First, gotta get a cage. This is a nice cage that is designed for the a7 IV, but with a tiny piece swap it will support the a7S III or a1. To provide a little more support when working handheld Chris added a universal hand strap to the right side.
This is actually a more refined version of an earlier a7S III model. On the bottom you’ll even find an allen wrench/flat head tool magnetically held in place. There’s also a little door to get your batteries out quickly and a screw to prevent horizontal rotation.
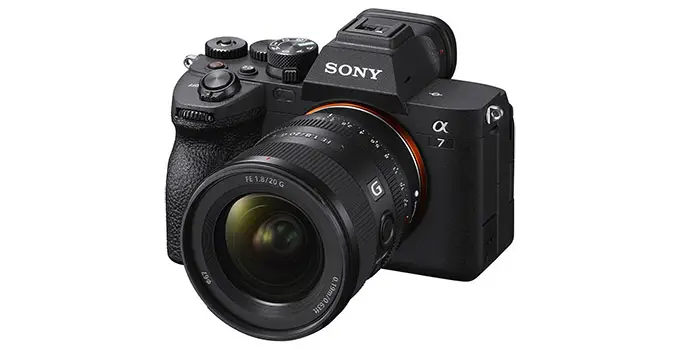
Image Credit: Sony
Attaching a monitor is very common and to do it here Chris uses a mini NATO rail on the top and a specific tilting monitor mount with NATO clamp. To attach all these parts he uses some fun things from SmallRig, either a Multi-Tool or an interesting screw and allen wrench storage plate.
Now on the left side he adds a rotating NATO handle. This can clamp onto the side of the cage via the NATO clamp and then can be rotated easily to adjust to any angle. It’s designed for left-handed use so now you can have a solid grip with both hands.
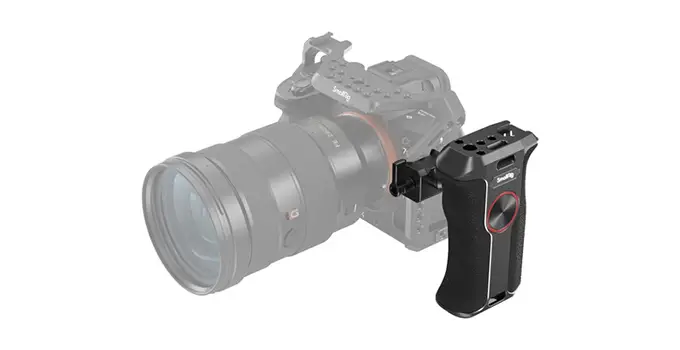
Image Credit: SmallRig
A bonus here is the cage has an integrated Arca-type compatible baseplate that will even work directly with the Ronin gimbals. The L-bracket is the same if you want something smaller.
On the cage there is also an offset cold shoe mount that is very nice for something like the Rode Wireless GO. You’ll need to figure out some cable management here to make it nice and clean and check you can still use the screen and stuff.
An alternate option for shooting days where you aren’t using an external monitor on top you can swap out that tilting mount for a top handle.
The top handle shown here actually has a start/stop trigger on it for even more convenient control over your camera. This is likely a better run and gun setup and you could even drop off the left side handle. And, there’s nothing stopping you from adding an external monitor back on.
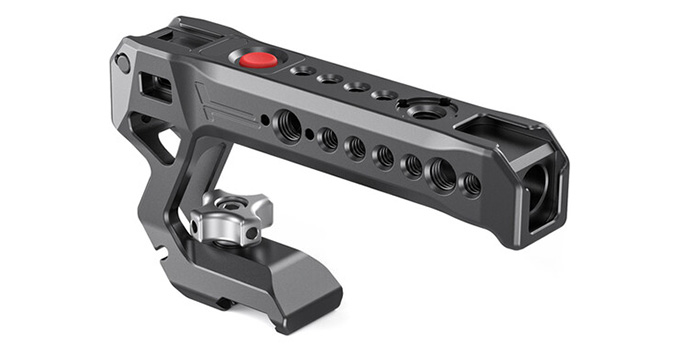
Image Credit: SmallRig
Another thing to consider is power. You can attach a power bank holder to your rig and clamp on any USB battery pack to get yourself extended shooting times.
Chris now goes into the L-bracket for the a7 IV. This is a nice little mount and it gives you Arca compatibility on the side and bottom of the camera for mounting in vertical or horizontal orientation. If you don’t want to go full cage this might be the best option.
How would you build your Sony a7 IV rig?
[source: Chris Brockhurst]
Order Links:
- Sony a7 IV Mirrorless Camera (B&H, Amazon)
- SmallRig Full Cage for Sony a7 IV (B&H, Amazon)
- SmallRig L-Bracket for Sony a7 IV (B&H)
- SmallRig Mini Quick Release NATO Rail (B&H, Amazon)
- SmallRig Universal Hand Strap (B&H, Amazon)
- SmallRig Rotating NATO Left-Side Handle (B&H, Amazon)
- SmallRig Tilting Monitor Mount with NATO Clamp (B&H, Amazon)
- SmallRig Power Bank Holder (B&H, Amazon)
- SmallRig NATO Top Handle with Record Start/Stop Trigger (B&H, Amazon)
- SmallRig Multi-Tool (B&H)
- SmallRig Screw and Allen Wrench Storage Plate Kit (B&H, Amazon)
Disclaimer: As an Amazon Associate partner and participant in B&H and Adorama Affiliate programmes, we earn a small comission from each purchase made through the affiliate links listed above at no additional cost to you.


