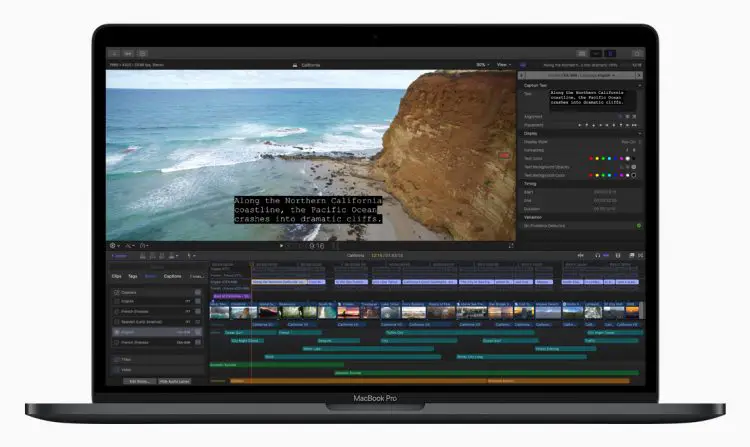
Many people have grown to love the current iteration of Final Cut Pro X. Despite a rocky launch that turned off many FCP fans, the current version is a powerful and surprisingly fast piece of software once you learn how to make the most of it. It also doesn’t hurt that Apple has optimized it so well for their latest Macs.
Still, there is always room for improvement by learning the ins and outs of the software. If you are using Final Cut Pro X and want to speed up your editing you should check out this video from Momentum Productions that highlights five tips for working faster.
1. Index
At the top left of your timeline is something called the Index. Clicking on it will show you exactly what is in your timeline. It shows all your clips, text, audio, transitions, etc. You can then search for specific clips or files from here to get to them more quickly without scrolling through the timeline. You can also sort by file type (Video, Audio, Titles) to make things even easier.
2. Keyboard Shortcuts
You have to learn keyboard shortcuts to truly elevate your editing game. Here are some of the most important:
- The “B” key opens up the blade tool for trimming, cutting, or splitting clips.
- Command + “Z” is the undo function, fairly important and can go back very far.
- The “A” key brings you back to the normal selection tool.
- The “P” key allows you to create placeholders when you move other clips.
- Shift + “B” is for quickly retiming clips. It’ll add automatic speed ramping and if you use the shortcut at different points in the clip it’ll make separate retiming zones.
- Up and Down arrows will bring you to the clip before or after, respectively, the one selected.
- Shift + “H” will create a freeze frame which you can easily extend or shorten.
3. Ken Burns Effect
To get those classic zoom ins and outs and pans on your clips you have some quick tools. Select a clip and then head to the crop options. You should see a “Ken Burns” option. Now you will have a green frame and a red frame. Green represents the initial frame and then the red is the frame that will be cropped into by the end of the clip. Very intuitive.
4. Magnetic Timeline
One of the most controversial changes with Final Cut Pro X was the introduction of the magnetic timeline. It’s different from your average NLE. However, if you learn to use it correctly you’ll find that the ability to have everything automatically adjust and snap into place as you work saves y

Image Credit: Apple
ou a lot of time compared to having to make a ton of adjustments to everything after you make one change. It’ll also prevent you from accidentally moving one thing out of place.
5. Fast Renders
Targeting YouTube you can tune your export settings for good speed while retaining high quality. In the Export File menu you can check out the settings. Sticking with H.264 is a reliably quick and quality method.
Do you have any of your own tips for Final Cut Pro X?
[source: Momentum Productions]
Disclaimer: As an Amazon Associate partner and participant in B&H and Adorama Affiliate programmes, we earn a small comission from each purchase made through the affiliate links listed above at no additional cost to you.


