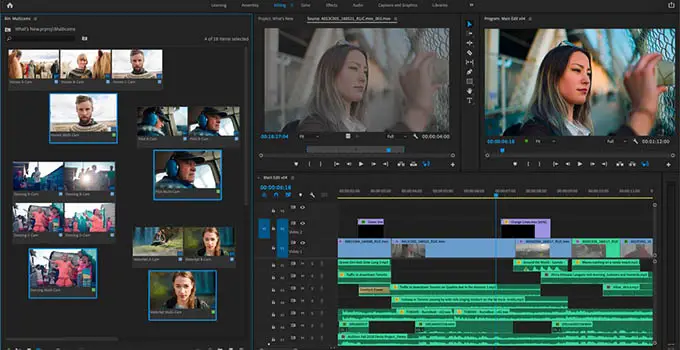
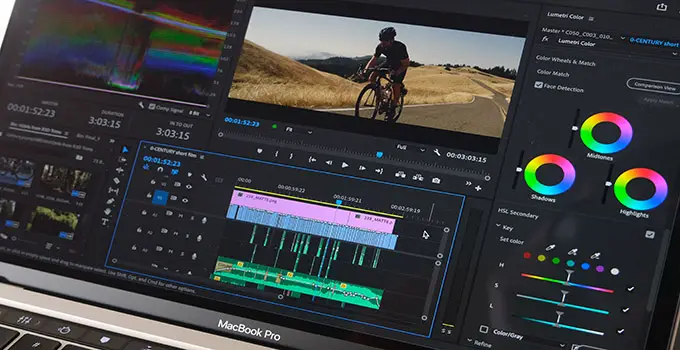
Among the most popular effects these days is the speed ramp. This refers to when you quick shift from slow motion to real-time and vice versa within a single continuous take. It’s effective and fun.
With more and more cameras offering better and better slow motion features – even 4K at 120 fps is almost the norm on the latest releases – this is something that I expect more people will want to take advantage of in their edits.
If you want to learn how to do this using Premiere Pro then this tutorial from Javier Mercedes should just about do the trick.
One thing to note is that these techniques do depend on shooting your footage at a high frame rate. This isn’t some magic to turn all your clips into silky smooth slow-mo shots. Going for 60-120 fps or even higher is needed.
The first method is simple using some quick cuts and ramps. Looking at your clip on the timeline you’ll want to add an edit/cut to the point where you want the ramp to begin.
Move the playhead to where you want the slow motion to stop and apply another edit/cut. With that done select the middle section and head to the Clip Speed/Duration settings.

Image Credit: Adobe
In this dialogue box you’ll have some key settings to look at. Speed is number one and you’ll want to set a speed below 100% to get slow motion. For ideal smoothness, you’ll want to check your clip frame rate and know your timeline or project frame rate.
For example, if you recorded the clip at 120 fps and have your timeline set to 24 fps you can safely set your speed to as low as 20% without losing anything. If you shot at 60 fps instead then you would only be able to head to 40%. Simple math, timeline frame rate divided by clip frame rate.
The next setting is to make sure the Ripple Edit Shift Trailing Clips is turned on. What this does is move any clips to account for the additional time the slowed-down clip takes up. Otherwise, it’ll cut earlier in the footage and be an awkward jump. Finally, you have a time interpolation setting.
If you are pushing beyond the limits of your recording for slow-motion this setting will determine the quality of new frames in the middle. Generally, optical flow is the best, but it doesn’t always work.
While there is no ramping in this initial method it does work well and work quickly.

Image Credit: Adobe
Making this a bit smoother is the use of keyframes in the timing. Starting with a clean clip again you should find the point where you want the ramping to begin. You’ll need to start setting up keyframes. Start by giving yourself room on the timeline and expanding the track height.
Then head to the “fx” button at the top left of your clip, right-click and select Time Remapping > Speed. The line on your clip will now represent keyframes for speed.
Going to where you want the speed ramp to start you can now hold Command (Mac) or Control (Windows) and head to the line where your playhead is located. You can now click to add a keyframe. Do this again for your out point of the slow-motion effect.
You can now just drag the line up and down to change the speed. It won’t automatically affect the audio so you’ll need to do something similar for audio if you plan on keeping it.
Going to the keyframe point at the top of the track you can now click and drag to extend the transition to smooth out the ramp. It’ll show on the line how the speed now gradually changes to and from slow motion.
If you click in between the new keyframe points at top you can then get a better adjustment for a curve to create exponential ramps. This can look better in some cases.
These are two very effective but easy-to-understand methods for getting speed ramping with your slow-motion footage.
Do you have any of your own tips?
[source: Javier Mercedes]
Disclaimer: As an Amazon Associate partner and participant in B&H and Adorama Affiliate programmes, we earn a small comission from each purchase made through the affiliate links listed above at no additional cost to you.


