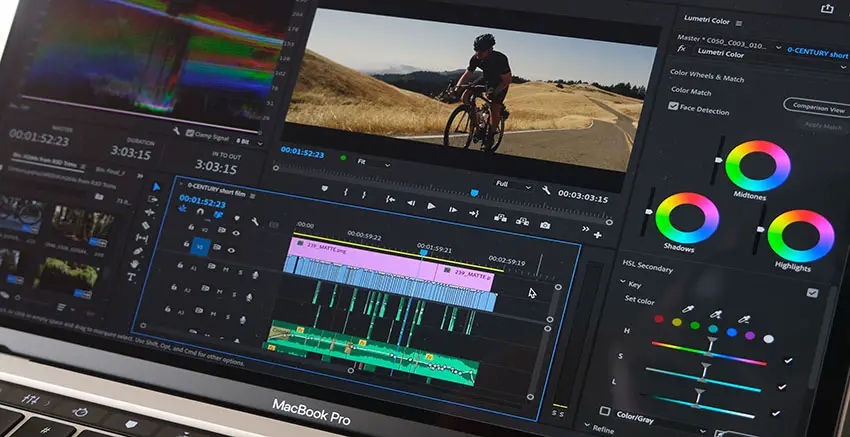
Modern NLEs are incredibly complexes pieces of software. Some things are easy to find and essential to just performing basic video editing tasks. Others are buried or tucked away in some lesser-used corner just waiting to be discovered. Some can revolutionize how you use the software and set up your projects. Others are just little hacks that can make life a touch easier.
Coming from the pros at Premiere Basics is a nice, fun look at five features in Premiere Pro that you likely haven’t stumbled upon yet. It’s always exciting to learn some new tools that can help you do things a little better.
1. Project Manager
Locate the Project Manager in the File menu for some help organizing your clips and footage. Things get messy with larger projects. Some stock footage here, a music file there, and your A roll over somewhere else.
With the Project Manager you can copy all these clips into a single location or even transcode all the media while moving it to a project folder.
If you are wrapping up your project and are archiving it you can even exclude unused clips and make it transcode only the bits you used with a choice to have extra handles included as well for tweaks later.
2. Track Keyframes
Putting keyframes on your clips is straightforward. It’s nice to quickly do things like duck audio. However, it is locked on the clip itself, meaning if you move the clip the keyframe also moves – not great for syncing to the video clips.
To fix this, you can go to the track’s keyframe button and generate a keyframe line that is for the track overall and is independent from whatever clips you throw on it. It’s nice for checking out multiple clips with some basic keyframe edits.

Image Credit: Adobe
3. Essential Graphics Imagery
The Essential Graphics window is helpful for throwing in some basic graphics like text. You can also import photos and videos here as well. From the new item button you can choose from file and select a custom video or photo to import.
This allows you to keep a set of graphics in a single layer on your timeline. You can also use it for more advanced graphics, such as quickly making a mask layer with text over an image or video.
4. Customizable Workspaces and Solo Mode
Not so much a feature as just some useful customization option for Premiere itself. As you have probably messed around a bit and moved panels into their own groups you can get even more control over the display of the panel. You can undock it to make it its own window or you can choose to stack the panels.
This provides an interface similar to other tools, like the Lumetri panel. In stacked mode you can turn on the Solo Mode and as you expand one panel it’ll collapse the other panels to keep things focused. You can also turn it off to show more panels at once. Nice for tuning the screen to just what you need.
5. Upgrade to Source Graphic
Sometimes you’ll make a graphic that you would love to use elsewhere either in the current project or even another one. Say you make an Essential Graphic and it is sitting in the graphics layer.
To bring the layer into the projects panel all you have to do is head to the menu bar Graphics and Titles > Upgrade to Source Graphic. Now it is in your library and easy to use elsewhere.
Do you have any hidden features that you love and want to share?
[source: Premiere Basics]
Order Links:
Disclaimer: As an Amazon Associate partner and participant in B&H and Adorama Affiliate programmes, we earn a small comission from each purchase made through the affiliate links listed above at no additional cost to you.

