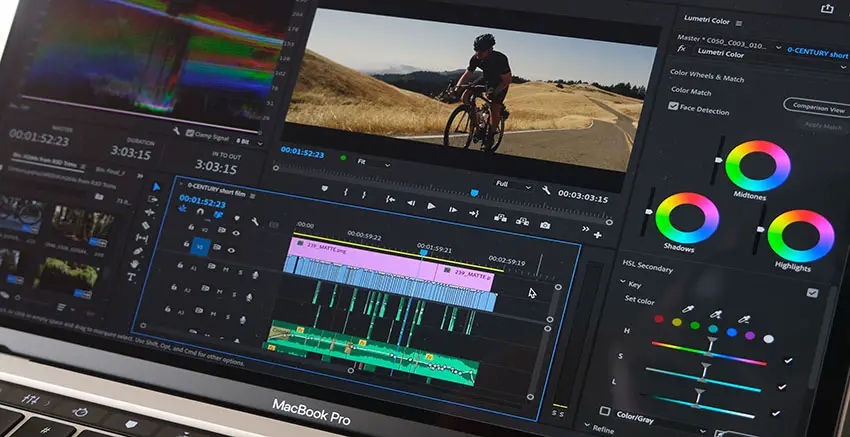
Shooting in slow motion is a great way to capture some varied footage to play with in post-production and add a little element of higher-end productions into your project.
Unfortunately, not all cameras can record in higher frame rates at all or when set to their best quality modes and generally do worse in low light.
In these situations, you will have to make a tough decision and hope for the best. Or, you can check out how to create a slow motion effect in Adobe Premiere Pro CC. Filmmaker Justin Odisho has a quick tutorial on how to create a smooth slow motion look from regular footage.
When you are trying to convert regular footage to slow motion the issue is usually getting it to look smooth. More recent versions of Premiere (make sure to update) have a new effect called Timewarp.
Apply this effect to your clip and pull up the effect control panel. In there is an important setting called Method. Pixel Motion is the default, but if that isn’t quite working then Frame Mix might do a better job. You can also adjust the speed.
The default is 50%, but you can set it much lower. He demos the effect by going down to 20%.

Image Credit: Adobe
This is a relatively demanding effect, so to preview it you’ll likely want to render it in place. Otherwise, you will likely get extremely choppy playback.
Timewarp being directly in Premiere Pro allows you to actually convert clips to slow motion that looks real as the frames are being blended between each other instead of the usual choppiness that occurs when you just change the speed of the clip.
It appears to work very well even on just this clip. There are a few options to play with as well so you can tune it to work best for each clip. A motion blur setting might even help out.
[source: Justin Odisho]
Disclaimer: As an Amazon Associate partner and participant in B&H and Adorama Affiliate programmes, we earn a small comission from each purchase made through the affiliate links listed above at no additional cost to you.


