I’ve probably said it over a dozen times at this point, but learning how to make the most of your NLE to make editing faster is something that will pay dividends. Films and videos are made in the edit and you will spend a lot of time there. There are also two ways to save time, learning shortcuts and techniques and finding plug-ins and extra tools to simplify some of your tasks.
If you are a Final Cut Pro user, you can get a jump on speeding up your editing process with this video by filmmaker Jeven Dovey. It’s four good tips and if you just picked up a new MacBook Pro you might be curious about how good FCPX performs.
1. Organize First
This is just a good general editing tip- organize your assets before you even start working in your NLE. Jeven works on a project basis, so he has one folder for all the files relating to that project. The best way to start is with a good numbering system, and it is very hard to beat going with the date as part of it with Year – Month – Day as the order.
In the master folder there is a MEDIA folder that is then divided up with additional folders calling out the A and B roll, sound effects, music, graphics, and more. Plus, you can then save the FCP library in this same folder so everything is together.
2. Use Plug-Ins
There’s a lot of stuff you can already do in Final Cut Pro. There’s, even more, you can do if you pick up some plug-ins. For motion graphics, such as titles, having a plug-in that does all the heavy lifting and gives you some good defaults you can quickly drag and drop a ton of your common effects.
Another plug-in that Jeven uses is one for zooms. This changes a keyframe function into a drag and drop setting with a basic slider and position. You can quickly copy this over to multiple clips as well.

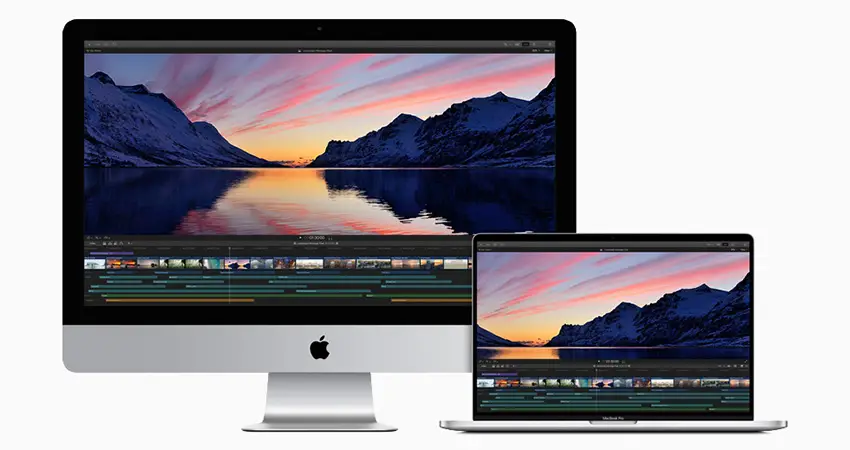
Image Credit: Apple
3. Footage Libraries
Once you are shooting for long enough you’ll find that you will have a ton of useful footage that you might want to have on hand for a lot of projects. You’ll want to start building your own stock footage library and there is a way to use another Final Cut library to hold all this footage.
It’s organized and hosted on an external hard drive, so whenever you might need something from it for your new project you can just open up this library and locate and use the file you need. Final Cut lets you move clips between libraries without actually moving the clip. This allows you to keep everything clean and organized and makes it easier to find particular shots.
4. Hard Drive Workflow
One thing to avoid is constantly moving footage, especially since it breaks linked files if you ever need to go find things again. What Jeven does is have his projects duplicated across three different drives – this is good backup practice. He uses his internal drive as a working drive and then duplicates the projects and files to two externals.
When he finishes a project what he does is delete all the generated files to keep the size of the library down. Then he will take the folder and back it up to the external drive. Then he uses Carbon Copy Cloner to make an exact copy of the backup drive to another backup. He never touches them beyond adding to them. And if they fill up he just gets new drives.
Do you have any of your own tips for working in Final Cut Pro?
[source: Jeven Dovey]
Order Links:
- Apple 14” MacBook Pro (B&H, Amazon)
- Apple 16” MacBook Pro (B&H, Amazon)
- Apple 13” MacBook Pro (B&H, Amazon)
Disclaimer: As an Amazon Associate partner and participant in B&H and Adorama Affiliate programmes, we earn a small comission from each purchase made through the affiliate links listed above at no additional cost to you.


