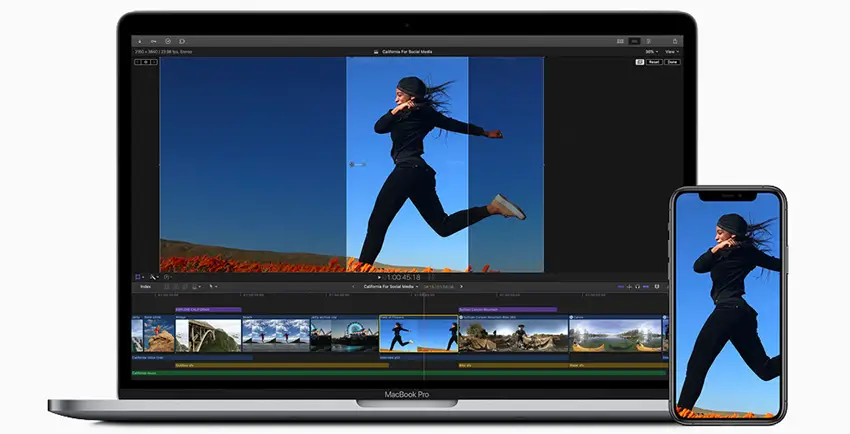
NLEs are filled with small details that when used properly can improve your editing workflow. Final Cut Pro has more than a few, but one that is likely underutilized is Roles. This is a way of organizing all your clips, effects, and audio as you work and if you start customizing them you can use them to improve your workflow.
This isn’t very clearly explained in the software, so you will need a tutorial. Fortunately, this video from Brad and Donna shows how roles work, how to use them, and even how to set up a template to make it even easier to use them consistently.
By default, Final Cut has five roles:
- Titles
- Videos
- Dialogue
- Effects
- Music
Each role is color coded and you will actually see some of this going on just by default as you work even if you never touch roles. It’s quite simplistic. If you start using custom roles and expand out the options you can see in the example who it changes the timeline. You can more easily identify different types of clips and sort them on the timeline.
If you want to create and assign roles you should head over to the Index, select Roles, and then hit Edit Roles… at the bottom. In this menu you can add and edit roles. He adds a new role he labels “B-roll” as an example. you can even choose a color now, though the palette is a little limited. Another example is to add cam audio as a role, and actually match the color to the B-roll. Add subtract as you please.
Over in the timeline you can right-click a clip and assign a role. For color, FCP prioritizes the audio clip color over the video if you have them linked.
Subroles are a way to organize broader roles. For example, a project with multiple interview subjects will all have similar roles and organization. However, each subject should be handled differently in the edit. You can head back to the roles menu and find the role you want to work with, say Dialogue in this case, and add subroles. You can then assign a more specific subrole from the menu. For multi-cam clips you’ll need to enter the clip to assign more specific roles.
When you are setup and assigned you can start making use of it with a few examples.

Image Credit: Apple
1. Show Audio Lanes
You can use roles to more easily navigate your timeline. If you hit show audio lanes you can see the different roles broken out. Plus, if you have subroles you can expand those. In the multiple subject interview example you can see how much easier it is to navigate when you can see where and when you have each person.
2. Copy/Paste Attributes
Moving on from the last tip, now that you have all your lanes clearly laid out you can more easily do things like edit one clip and then copy/paste across all similar clips. All the same clips are now on their own lane so you can just drag to select all.
3. Hiding Layers
Sometimes you have to export specific versions of a project, such as one without any titles. If you used roles to separate out all your different titles you can just deselect them and have them hidden from the timeline. Hit export and then turn them back on.
4. Focus
By tapping the circle next to a role you can focus in on that task. All the other roles will condense down to get out of the way.
5. Rearrange Order of Audio Roles
For the audio, you can actually rearrange the roles to rearrange their place on the timeline. For example, if you wanted a livestream audio track to live directly under the dialogue instead of other effects or music. It’ll help keep things organized.
Moving on to another tip, you can create a fake audio bus to more easily place effects over a single type of clip. Using roles you can find all similar clips and then make a compound clip of all the clips in a single role. Then you can apply a global effect to all at once. It’s a workaround but it works.
If you do want to work with roles more seriously you’ll find that roles are library-specific. Creating roles for every project will be time-consuming. To create a template what you need to do is start with a fresh project. Then, make titles and audio clips equal to the number of roles you want to set up. Assign roles to each so that all roles are used.

Image Credit: Apple
Next, you’ll need to create an XML of the project. Save this in an easily accessible place. Then you can just import that XML into the library and it’ll automatically create the roles in your new library. You can make multiple types of role templates and save different XMLs for each.
It seems like a nice way to stay organized and if you are working with more complex projects it can be a huge time saver. Have you used roles before?
[source: Brad and Donna]
Disclaimer: As an Amazon Associate partner and participant in B&H and Adorama Affiliate programmes, we earn a small comission from each purchase made through the affiliate links listed above at no additional cost to you.


