S-Log gets a lot of attention when it comes to Sony camera Picture Profiles. There is another option that just might be a good option for many people: HLG. Hybrid-Log Gamma is a more standard HDR format that is almost ready-to-go with some devices. If you want to try it out you should understand how to best handle it.
Exposing and grading different picture profiles can be tricky, so this helpful guide from Harv Video/Audio Stuff should act as a very nice primer for HLG. Understanding how to get the best exposure will make life easier when you start grading.
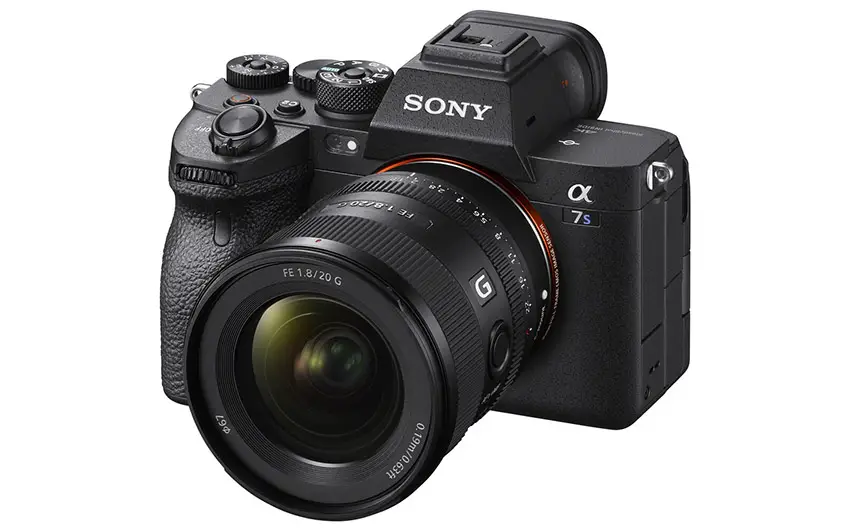
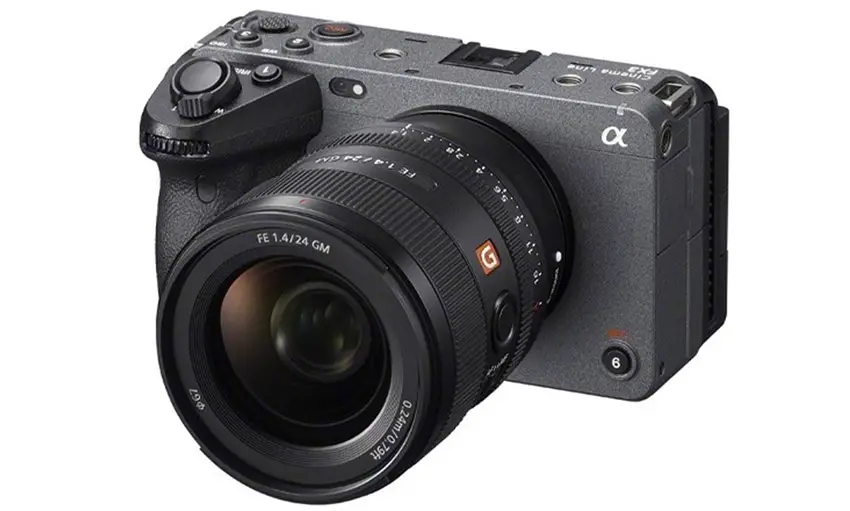
This applies to many of Sony’s cameras as they have been using HLG for a good long while. In particular, though, you will get best results with 10-bit options like the a7 IV, a7S III, or FX3. HLG might actually be better than log when it comes to 8-bit recording, so keep that in mind.
HLG, or Hybrid-Log Gamma, is a form of HDR that is designed for broadcast applications where you might need to display either a conventional SDR image or an HDR image using the same data pipeline. This gives it that Instant HDR branding where you can simply record in HLG and playback anywhere at best quality.
Still, at the end of the day it is just another picture profile and has its own quirks for shooting and editing.
Starting with how to expose it, Harv did what he is used to doing and pushed the image as far as he could to overexpose it. In his example, he hit +2 stops overexposed by the in-camera meter. Adding some contrast and reducing exposure provided a nice image. He got similar results at just 1 stop over.
At “proper” exposure the footage starts looking duller and duller and after grading there is the potential for banding. Being underexposed doesn’t work out too well either with some odd color as well. More than 2 stops overexposed also didn’t work out too well.

Image Credit: Sony
It’s another balancing act for HLG exposure, though it seems that 1-2 stops over is a sweet spot for it. Compared to S-Log3 in the same situation, the log recording appeared to provide a more natural image. These results were repeated in both inside and outside footage.
HLG appears to get a more contrasty and saturated image. It definitely requires some additional work in post and not all of it is easily adjusted.
This isn’t so surprising if you look at the HLG curve. The bottom of the curve is linear but at the highlights, it has a log curve. This can make grading a bit more difficult since the different areas can react differently.
If you are editing HLG you will need to make sure that your NLE knows what it is working with or you will get some weirdness. In Final Cut it is actually very easy to do and can give you a good image without much work as long as you expose properly.
Compared to S-Log, HLG might give you better results with 8-bit footage since it requires less stretching in post. However, S-Log looks like it will deliver a more natural image after grading.

Image Credit: Sony
HLG is certainly easier to use if you are going for a Rec.709 final product. S-Log3 also delivers much more dynamic range. Plus, HLG still has its own exposure recommendations that don’t make it super simple to use and grading requires its own style.
Other things to consider are how S-Log3 is more widely supported with different looks and LUTs. So, if you have a favorite look you might want to see if it’ll work with HLG. Another aspect of HLG is that it isn’t super grading friendly, though it should get some work. You just need a very light touch and make sure everything is set up properly before you get started.
Have you used HLG before? Are you going to try it out now?
[source: Harv Video/Audio Stuff]
Order Links:
- Sony a7 IV Mirrorless Camera (B&H, Amazon)
- Sony a7S III Mirrorless Camera (B&H, Amazon)
- Sony FX3 Cinema Line Camera (B&H, Amazon)
Disclaimer: As an Amazon Associate partner and participant in B&H and other affiliate programmes, we earn a small comission from each purchase made through the affiliate links listed above at no additional cost to you.


