Raw video formats have done wonders for image quality in cinema cameras. And, now raw is way more accessible than it used to be – you can get a capable raw shooting setup for a couple thousand dollars. With everyone able and willing to shoot it there are some good questions that pop up, like if you actually need to care about setting white balance, or what does ISO do if you can just change it in your NLE.
That last point is the focus today. With extreme flexibility in post, what is the proper way to use ISO when shooting Raw? To find out there is a nice explanation by filmmaker Justin Phillip.
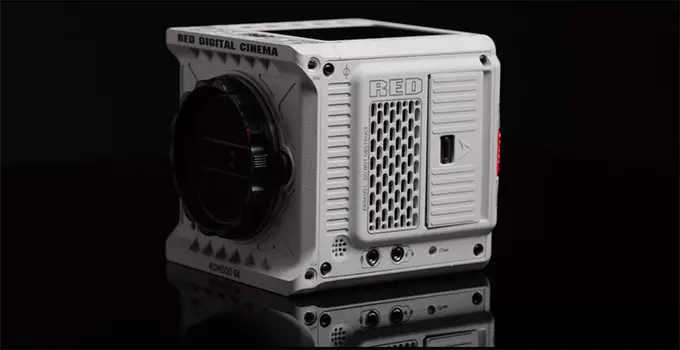
Using the RED KOMODO 6K as the test camera Justin takes a deep dive into what ISO is and isn’t doing for you when you record in raw. To start, you have to understand what a camera is doing when it is recording raw data. It is taking the data off the sensor and just adding some metadata to it to make sure it renders appropriately when you go to review or edit it.
Now, ISO is a purely digital setting and technically has no impact on the quality of your image when you are recording raw. The only thing that will affect the exposure of your image is the amount of actual light, the aperture, and the shutter angle/speed. ISO just tells the camera how it should treat the footage to give you a preview. The camera is always going to be collecting the maximum amount of data you can capture.
What the ISO and preview will do is affect who you expose the image and how you can balance shadows and highlights. The ISO setting essentially says where the midtones are. Depending on the actual scene, the dynamic range you need to capture, and the subject you may want to set this very differently.

Image Credit: RED
This is why lowering the contrast of your shots can help improve dynamic range. you can see this as a log profile for non-raw formats as well as in the use of things like the Tiffen Ultra Contrast 1 Filter. You can also do this with normal fill on your shadows, such as bouncing some light onto your subject.
It’s interesting how he uses the ISO settings, as he tends to opt for higher ISOs for bright exteriors and lower ISOs for dimmer scenes to help him ensure he is getting the proper amount of light on the subject. Traditionally you might think the opposite and use a higher ISO for dimmer interiors and lower ISOs outdoors. You definitely need to pay attention to the examples here.
A more simplified explanation is that when you use a higher ISO you are retaining more highlight detail while when you use a lower ISO you are protecting the shadow detail. If you look at ISO charts for cameras where it shows the midtones and how many stops of shadows and highlights you capture at each setting, it can start to make sense.
One thing that isn’t noted that I would throw in is that some cameras do actually have two different ISO settings, commonly known as dual native ISO. In these cases the ISO setting does actually affect the image as the camera has a real gain setting in the electronics. This means there are two ranges of ISOs that behave differently, with one being standard and one being tuned for low-light scenes. This can affect your raw image.
Do you understand how ISO is a tool for getting useful exposure in raw? Have your own perspective on it?
[source: Justin Phillip]
Order Links:
Disclaimer: As an Amazon Associate partner and participant in B&H and Adorama Affiliate programmes, we earn a small comission from each purchase made through the affiliate links listed above at no additional cost to you.


