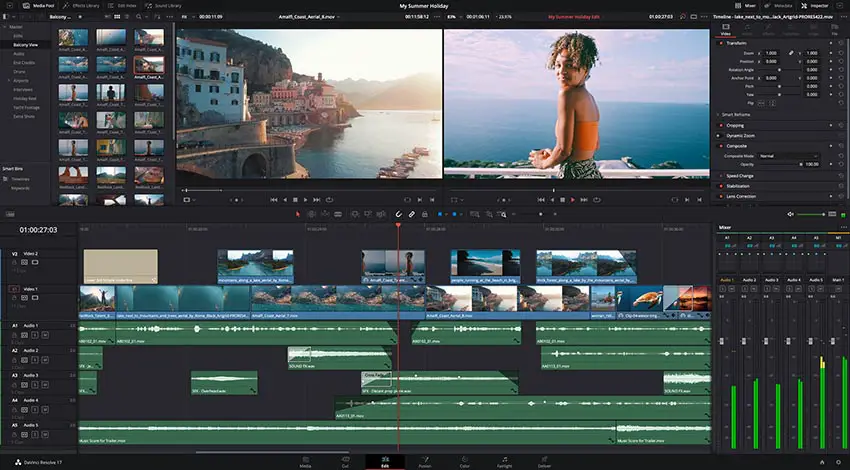
Using just the basic transitions – cuts, dissolves, wipes, etc – can get stale after a while. If you want to inject some more excitement or energy into your videos, you’ll want to start looking towards building some custom transitions or some readily available packages that you get online.
Or, you can try some quick tricks in DaVinci Resolve to get some unique and fun transitions without much effort.
Coming from MrAlexTech is a tutorial on how to create a new, fun transition by “stacking” a few of the built-in options. It is a neat trick that can give you something different in a pinch.
Opening up Resolve and having a couple of clips on your timeline is all you need to start. Head to the Effects Library and head to Video Transitions. Picking out one of the default options, Circles in this case, just apply it as usual to the edit point.
Now, move the playhead to the edit point. Highlight the two clips and transition and then right-click and create a compound clip – this makes the two clips and transition function as a single clip.
Next, while keeping the playhead in the same spot, apply a cut to the new compound clip. It basically just gives you back the main edit point while keeping the transition in place.

Image Credit: Blackmagic Design
You can now put a second transition on this new edit point. You can continue to do the same thing over and over if you want to add more and more transitions.
If you want to make edits to any individual transitions you can head to your Media Pool and find the compound clips—so make sure you named them appropriately. You can open each clip on the timeline and make any changes you need.
It’s definitely a quick and easy way to add a little more punch to your basic transitions.
Are you going to try it out?
[source: MrAlexTech]
Disclaimer: As an Amazon Associate partner and participant in B&H and Adorama Affiliate programmes, we earn a small comission from each purchase made through the affiliate links listed above at no additional cost to you.


