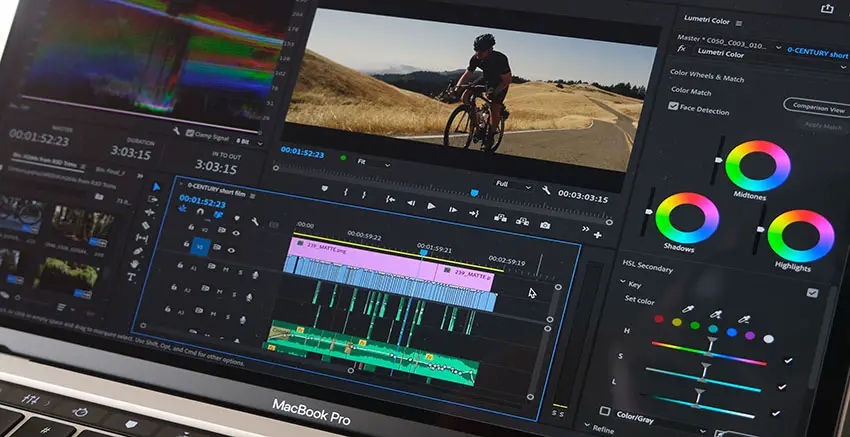
Color grading is a highly technical process. There are usually a few LUTs involved, some scopes to check out, color charts if you are properly set up, and that is just to get a nice, contrasty, accurate image.
After that gets done is where the real fun comes in. Creative grades are where you can stretch the boundaries of color and give your footage a unique feel – think the green tint in The Matrix.
Filmmaker Aidin Robbins wants to focus on the creative side of color grading. Specifically, he shows off seven different tricks for Premiere Pro CC. A couple of these tips can open up your filmmaking toolbox and make the most of your footage.
1. Day for Night
This is a good one and it is super useful. Doing day for night is a specific approach where you can make it look and feel like night even when you shot during the day. This was super common with film as you generally needed a lot of light to even get an image.
Shooting during the day and applying this type of grade created that effect and if you pay attention in classic films you may notice those deep blue scenes are actually daytime shoots.
To do this you’ll want to lower the exposure and then drop the color temperature to bring in more blue. The results will actually become clear quite quickly and you can tune this to what you prefer.
2. Desaturated Purples
With digital cameras and compression you may see some artifacting show up during certain shots. A surprising amount of the time you can see that it actually has a purple tint to it. By simply desaturating the purple you might actually be able to clean up the footage dramatically.
3. Reverse HSL Secondary
The HSL Secondary tool allows you to select a specific range of colors and then apply adjustments solely to that range. It’s super helpful for grading. This trick refers to how you can do the reverse of this as well.
That will make it so that you change everything except the range you selected. Say if you wanted to change all the background but not skin tones you could select skin tones in the HSL Secondary and then invert the selection to grab everything else.
4. Gradients
Creating additional, subtle contrast in a shot is a great tool to bring focus to the subject. This could mean darkening the foreground or bringing back a sky that is too bright.
To pull this off what you will want to do is create a mask in Lumetri. Resize and drag to cover the area you want to have the gradient affect. Then, lower the exposure and apply a heavy feather to the edge of the mask. Easy gradient and you can tweak it as much as you want.

5. Fake Fog
Want an atmospheric effect without dragging around a fog machine? Fake fog is here! Adding this is possible with Lumetri Color. Add a mask to the clip to isolate it to a single part of the frame, like the top.
Now, you’ll want to reduce the contrast and saturation a fair amount. Take a stab at the Highlights slider as well. It looks relatively good considering the minimal effort. Realistically you’ll want to minimize use or use it as a way to boost existing foggy conditions.
6. Sunrise/Sunset
Sometimes the actual sunset or sunrise just isn’t that gorgeous colorful one that you were hoping to get. Giving it a bit more punch in color grading can get you there. One way to do this is to head to your color wheels and add a bit of red or orange to your highlights.
The reason for a global change is that if the light was actually that color you would likely see an impact on the rest of the scene. Or, if you do want to make it just the sky you can use another mask with a feathered edge to select just the sky.
7. One Color
A highly stylized effect is going monochromatic and picking a single color to wash over the scene. One reason Aidin gives for doing this is for shots at night where multiple light sources might have different color temperatures and mess with the overall look. To do this effect, you start by entirely desaturating the clip.
Then head over to the RGB curves and select the color(s) you want to add back. Blue is a favorite to add for night and then taking out some red to add a green/teal.
If you want to correct some areas you can duplicate the layer and then use a mask to isolate the frame and remove the effect. You can also go the other way and use a mask to only apply the effect to a single area.
These are some easy and fun techniques you can start using right away. Do you have any of your own tricks?
[source: Aidin Robbins]
Disclaimer: As an Amazon Associate partner and participant in B&H and Adorama Affiliate programmes, we earn a small comission from each purchase made through the affiliate links listed above at no additional cost to you.


