When you are out and about shooting clips in public areas it is probably often you’ll have a good take that could be even better if something or someone wasn’t in it.
This is something you have no control over. What you do have control over is the edit and if you are using a modern NLE, such as Premiere Pro CC, you likely have all the tools you need to quickly and easily take out these troublesome objects.
There are tricks to remove both static and moving objects in Premiere actually and Enam Alamin has a quick tutorial video.
Though, I will note that this is a lot easier with static shots on a tripod than run-and-gun handheld shooting and that should be kept in mind before you even get to the edit.
This tutorial starts assuming you already have your target clip in a sequence and ready to go.
Remove Moving Objects
Start by duplicating the clip and throwing on the track above it. Holding Alt and dragging is a shortcut. Then disable the lower track.
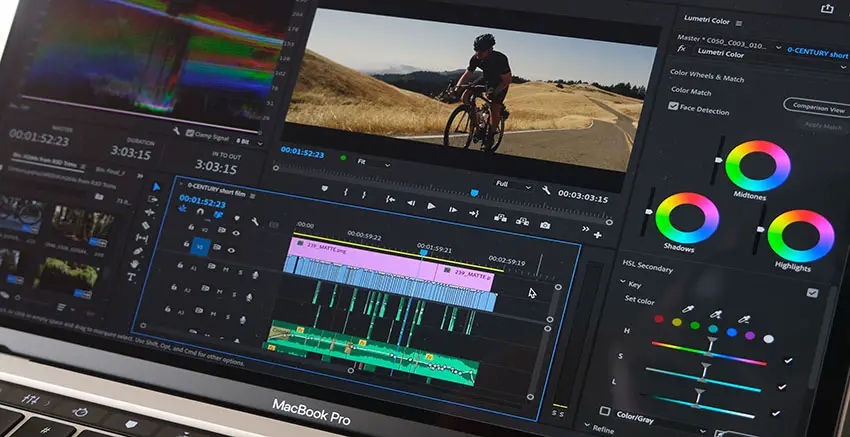
You’ll want to mask out the object in the top layer starting from the first frame. Now you need to mask out the moving object. Opening the Effect Controls tab (Shift + 5) you’ll find the Opacity section. Select the create ellipse mask option. Adjust the position and size of the mask to select the object, adding a feather of around 50.

Image Credit: Adobe
Click the Mask Path Time icon to create a keyframe at the first frame. Skim forward a few frames, adjust the mask position, and repeat until you hit the end of the clip. Next thing is to invert the mask.
This is actually quite simple for moving objects, you’ll apply a cut to the middle of the bottom layer and then flip the position of the new clips. Since the object is moving what ends up happening is that the below clip is providing a clean shot of the area that was masked out in the top clip. Since it’s the same clip it matches up perfectly.
Again, static clips are the key here for making this easy to pull off.
Remove Static Objects
Static objects won’t actually be able to use the above since you can’t rely on clean portions of the clip.
When you have your clip you’ll want to make a snapshot, or Export Frame (Ctrl + Shift + E). Export the frame and make sure to import it into the project.
Make another mask to select your object, getting it as close as you can use the appropriate shape or the pen tool. Again, you’ll invert the mask.
Move your video layer one track up. Place the snapshot on the bottom layer/track and extend or shorten to match the video clip length.
With that in place, you should right-click and select Edit in Adobe Photoshop. Use a selection tool to select the object you want removed. Hitting Shift + Backspace you should get the fill option and be able to perform a content-aware fill. Save the file (not as a new file, overwrite the old one).
When you head back into Premiere you should now have a clean clip with the object removed.
These are two low-effort ways to remove objects and are best suited to simple jobs. Do you have any of your own suggestions to share?
[source: Enam Alamin]
Disclaimer: As an Amazon Associate partner and participant in B&H and other affiliate programmes, we earn a small comission from each purchase made through the affiliate links listed above at no additional cost to you.


