Add some spice to your next videos by using some stylized transitions. Doesn’t seem like much and only takes up a fraction of the video, but it has a big impact.
The built-in effects are fine, though separately available transitions can give you options you never even thought about and let you have a bit of fun while saving time in the edit.
MrAlexTech has been putting together free (yes, free) transition packs for DaVinci Resolve and has a brand-new set of seamless transitions compatible with version 17. Now that Resolve 17 is out of beta it might be time to upgrade your software and upgrade your transitions.
This pack, available for download here, is only compatible with Resolve 17. If you still run an older version you’ll have to go find his earlier transition packs.
A benefit of the upgrade is that the edits are customizable, meaning the 40 variations in the earlier versions have been cut down to just four key options:
- Whip
- Diagonal Whip
- Zoom
- Spin
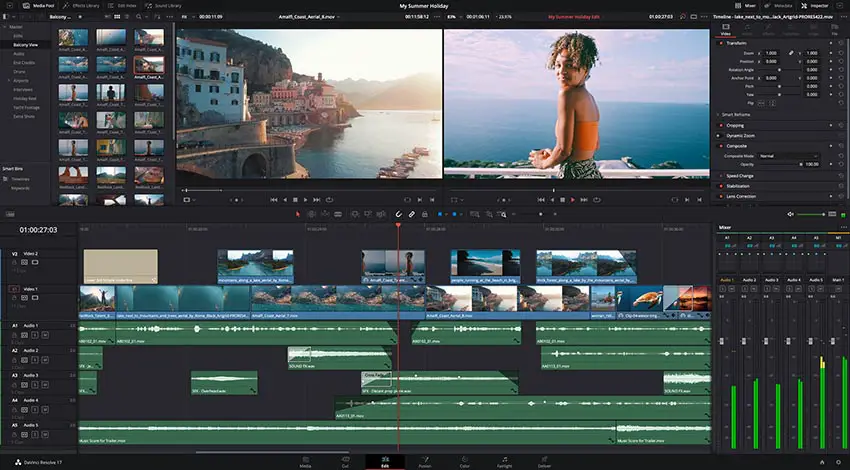
Drop a transition on the timeline and make tweaks as you see fit. Save the presets you like the best and you have a library of purpose-built transitions for your videos.

Image Credit: Blackmagic Design
Installation
After downloading, you’ll head into Resolve, move to the Fusion page and Effects Library. Go to the Edit Templates, expand it, click on transitions, and then just drag-and-drop the downloaded transitions into the transitions section. It’ll take care of the rest.
An alternative is to hit the three dots in the Effects section, show folder, and then copy-paste the transitions files into that folder.
You should now see the MrAT transitions in your transitions list.
Ultimate Zoom
As for how they work, all you have to do is drag the transitions onto an edit and you are good to go. To customize you’ll need to head to the Inspector area.
Zoom is an easy one, it essentially just zooms in/out on the frame with blur to make the transition appear seamless.
For the Ultimate Zoom you can use the Pivot to change where in the frame you are zooming in during the transition. The Zoom Type let’s you decide the movement of the zoom effect to be either In-In, In-Out, Out-Out, and Out-In. It can give you a bounce or smoother transition.
Scale is how much the transition will zoom in. Reducing scale will make it more subtle while increasing scale will make it more exaggerated.
Quality is available to smooth out the motion blur and while you will want to max this out, for editing and keeping a lighter load on your machine you might want to keep it reduced as you work. Shutter angle is then to help control the amount of blur.
Finally, you can control the effect on the in/out points. Add a bounce, a backward move, and a couple of others to fine-tune this effect.

Image Credit: Blackmagic Design
Ultimate Whip
This is a basic move where the next frame whips in from one side of the frame. The customizable options are the direction (up, down, left, right). Scale is interesting here as it actually indicates the number of times the frame whips over and can give a filmstrip effect when increased.
Again there is quality and shutter angle with the same control over motion blur. Also, in/out options appear.
And, a zoom option can add a bit of zoom during the whip.
Ultimate Spin
Getting dizzy? The spin rotates the image around to transition to the next clip. You can control the center point via pivot and the direction/speed of the spin. Beyond that you are getting into all the same controls as before with quality, shutter angle, in/out, etc.
Ultimate Diagonal
This is a repeat of the whip move, but now it is coming from the corners. You can chose top left, top right, lower left, and lower right along with all the other customizable options as the standard whip.

Image Credit: Blackmagic Design
How to Save Presets
Once you use a transition and make some changes in the Inspector all you have to do is right-click the transition on the timeline and hit “Create Transition Preset”.
Name it and save it. Looking at the effects area you can do to the “User” area and you should be able to find all the presets you have saved for quicker use later.
Have you use these transitions before? Planning on using them in the future?
[source: MrAlexTech]
Disclaimer: As an Amazon Associate partner and participant in B&H and Adorama Affiliate programmes, we earn a small comission from each purchase made through the affiliate links listed above at no additional cost to you.


