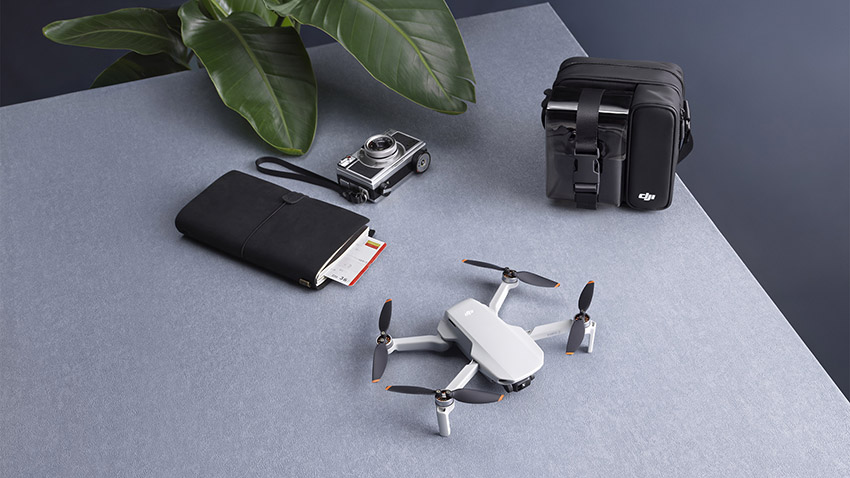
DJI replaced the much-loved Mavic Mini with the Mini 2. Not quite sure why the name changed but the DNA is the same along with some amazing improvements. We kept the same size and most accessories while going up to 4K resolution. It’s an awesome starter drone or just a pocket drone for taking out on all your shoots for some random B roll.
Designer and videographer Keith Knittel has his own top 10 tips for filming with the Mini 2 and shared them in a video. Considering this is likely to be many people’s first drone, it’s definitely something you should research to avoid having an avoidable accident.
1. Don’t Fight the Wind
Fitting for the name, the Mini 2 is small and light at just 249 g. That means you have to be extra careful when it comes to wind. It just doesn’t have the power to challenge moderate wind and gusts. This can affect your shots, resulting in angles slightly changing or the drone being off course by the end of the take.
Interestingly, it seems the Mini 2 uses sensors to bring it back on track after it gets moved off course. This means if you attempt to correct the movement you might end up overcorrecting and making the shot look much worse than the gradual movements the Mini 2 performs on its own.
You really need to be careful with wind and drones. I have my own stories about almost losing the bigger Mavic 2 Pro due to wind.
2. Use Quick Transfer
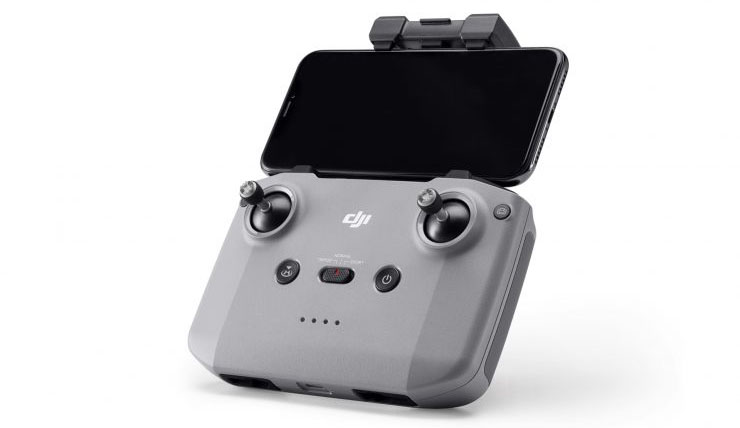
You don’t actually need to get your controller hooked up to your phone to transfer files. What you do is turn the drone on and then hit the button on the rear bottom of the drone. It’ll let you connect using the DJI Fly app. They you can select and transfer photos and videos. Being wireless, larger files are time consuming to send. This is really great for quickly sharing some snaps as you travel.

Image Credit: DJI
3. Use the Zoom
The Mini 2 now has the same zoom as the Mavic Air 2. It can help a lot with framing to do the zooming in camera. However, it is a digital zoom so there is potential for some lost quality. Still, it can be a lot faster to work with pre-zoomed footage instead of having to make all the tweaks in your editing suite later.
4. Shoot 4K Video and Raw Photos
Among the biggest upgrades for the Mini 2 was the ability to record in up to 4K at 24/25/30p and shoot raw photos. The Mini 2 is still limited due to its smaller sensor, so recording in the best quality will give you the best results.
Watch out for the lens angle. The optics can reveal some distortion and flare at the wrong angles and that can cause you issues. Sure, it’s a relatively inexpensive drone, but beware.
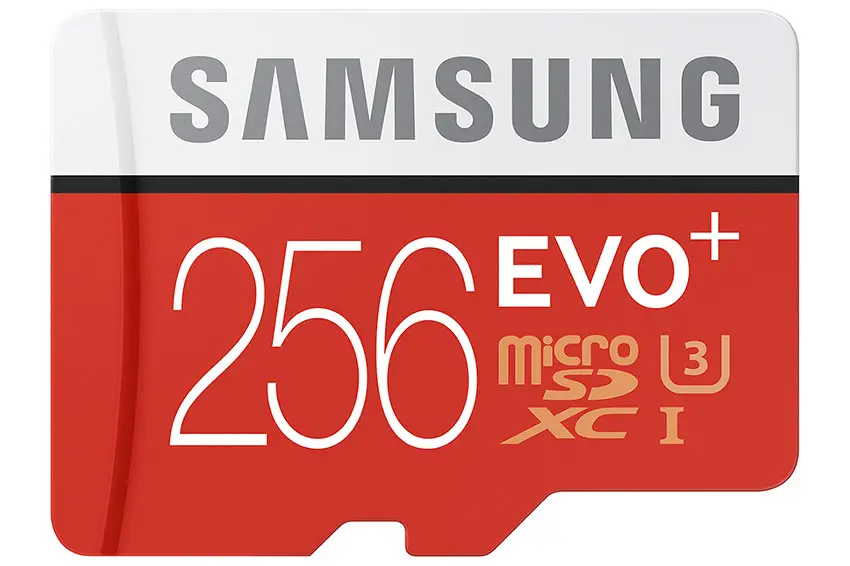
5. Don’t Forget a microSD Card

Image Credit: Samsung
While some drones have a small internal storage drive, the Mini 2 does not. You’ll need at least one microSD card just to capture anything. And, it’s best to have a second card in case you need to swap out before you have a chance to head home.
6. Mavic Mini Accessories Work on the Mini 2
Design is similar between the Mini 2 and its predecessor. This means you can actually use plenty of Mavic Mini accessories in the Mini 2—like batteries. This doesn’t go both ways as the Mini 2 battery won’t fit the Mini 1. Also, the original Mini’s battery weighs more, which will technically put the Mini 2 above the magic 250 g figure that requires registration in the US.
7. Know the Rules, Follow the Rules
You can’t do tips on drone videos without the core safety tips. Even though the Mini 2 is a compact drone, you still can’t fly in restricted airspace and you have to follow any rules from the specific location you are working in. You can get in trouble or cause some bigger issues for others if you don’t follow the rules.
8. Practice, A Lot
I like the idea of the Mini 2 as a learning drone. It doesn’t have as many of the automated modes or object sensing so you need to be careful and learn to fly well. Learning how to do the various shot types yourself gives you better handling and more control than the auto modes will. If you need auto-tracking to film yourself, however, you will need to upgrade.

Image Credit: DJI
9. Be Aware of Wind
Wind was mentioned once already. The Mini 2 is small and can get pushed around easily. Feel out the wind and look up gust speeds or you might lose your drone. And losing a drone can result in accidents or even injuries if it falls on someone. If you are fighting the wind you are probably not going to have a fun day. It’s safest to keep it close to you on windier days.
If there is some minor wind knocking the drone around you can pull back from your subject to create a smoother shot. Sometimes it’s just what needs to happen.
10. Enable Payload Mode When Mounting Accessories
It you are using accessories on the drone you will be adding weight. Sometimes you’ll need to activate payload mode to account for the extra weight. It’ll help smooth out gimbal performance.
Do you have any drone or Mini 2 tips?
[source: Keith Knittel]
Order Links:
Disclaimer: As an Amazon Associate partner and participant in B&H and Adorama Affiliate programmes, we earn a small comission from each purchase made through the affiliate links listed above at no additional cost to you.


