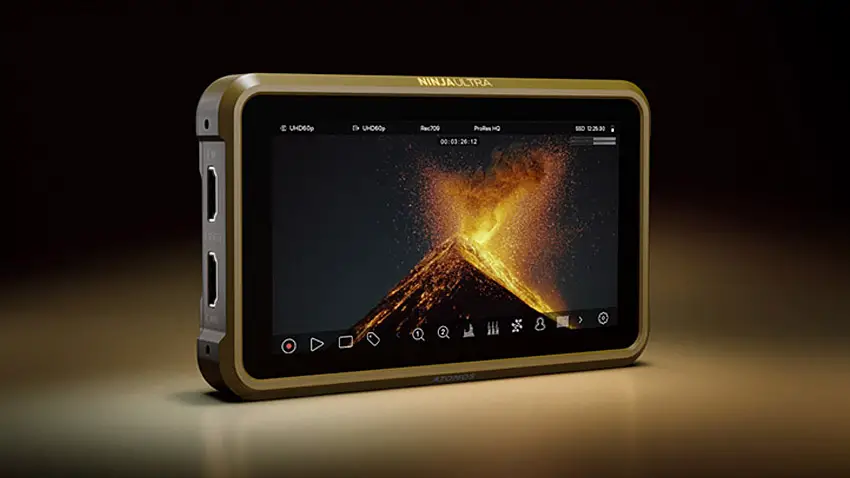
Atomos devices are awesome but complex. Loaded with a huge assortment of features, HDR, log, LUTs, audio, etc can make it intimidating for those new to advanced video.
The Ninja V is one of their latest and most popular thanks to its capabilities and compact size which make it perfect for DSLR and mirrorless cameras. For new filmmakers, it can be a lot to figure out.
Gerald Undone has been creating awesome educational videos about video equipment for years now, and based on recent questions he put together a helpful guide on how to best set up your Ninja V.
One thing that tends to confuse newcomers are the display settings for HDR/Log. Gerald clarifies that while the Ninja V can choose these options all the time, it won’t change anything about your camera or its active settings. If you are shooting in log, however, if you match the settings on the Ninja V to your camera’s setting it’ll properly map the video to look right on the display.
You don’t need to use that setting though, turning on the Log/HDR setting provides a basic HDR preview and turns off some settings you might want – such as Legalize. If you just want a recording of your camera’s output you can leave it off.
The next tab has to do with Output. It is over the Ninja V’s HDMI output and can adjust the images before they are sent out to another device or screen. You can do things like send timecode out, flag it for HDR, have the LUT be active, and resample a 4K image to HD. This can help you quickly and immediately get an image ready to broadcast or stream.

Image Credit – Atomos
Record is where you set the file types and compression. ProRes is the most common, but you can access DNx if you register your device and activate it. As for what quality, Gerald recommends standard for most uses, like YouTube videos, though in my experience even LT is just fine, especially for 8-bit cameras.
Going into the File tab is very straightforward. Just set it up how you want your files to be named. There are a couple of format options, but it’s just naming.
Meters is the first audio section. There are a lot of tracks and options and a couple changes here can impact how the files are created and handled by an NLE. Gerald points out that if you activate the analog mic input setting, it’s possible that will become the first two tracks on the file and most software will default to those tracks over your others, which could be more important.
Turn them off if you aren’t using it and then Track 1 and 2 (generally the HDMI input’s audio) will be the priority. For monitoring audio, you should tap the headphone icon above the tracks you want to listen to through the Atomos’ headphone out.
The second audio section refers to devices connected directly to the Ninja V and allows you to set gain and whether or not you need mic level or line level. One useful feature is the frame delay. Audio and video tend to get processed very differently and sometimes this can cause a slight mismatch between the sync. Using the frame delay can correct that.
For the second set of tabs, you have Media which is for formatting your drives. Timecode is all about the timecode. As for date and time, well I hope you all know about that. However, Gerald has noticed it will drift over longer periods of time. Then there is a the battery info, AtomX menu, and then the regular info.
Moving from recording to monitoring. Here is where you can set LUTs and basic display settings. Generally don’t change much about the display except for backlight as needed for your location.
There’s a lot to unpack in the Atomos Ninja V. Gerald does a great job answering a lot of frequent questions and tackling some common misconceptions.
[source: Gerald Undone]
Order Links:
Atomos Ninja V 5” 4K HDMI Recorder/Monitor (B&H, Amazon)
Disclaimer: As an Amazon Associate partner and participant in B&H and Adorama Affiliate programmes, we earn a small comission from each purchase made through the affiliate links listed above at no additional cost to you.


