While 2019 comes to an end, we have to acknowledge the birth of a new category in the low end of the professional market – 6K cameras. The Pocket 6K and S1H are leading the way for a new generation of sensors and cameras, and we can bet that earlier than we could expect such resolutions will become more common than anyone could imagine.
Now, to edit the humungous files from such cameras, we’ll need an appropriate tool. While the latest Mac Pro probably will be out of the league for most filmmakers, Matt Johnson has made a list of parts to assemble a machine that can crunch through all your 6 and 8K footage without breaking a sweat.
Building your own PC may seem like a pesky task to those who haven’t dipped their toes in the business. As a matter of fact, it’s not that difficult: there’s plenty of beginners’ guides on the web, video tutorials, articles, and whatnot.
Just take a look and you’ll find out that it’s much easier than what you’d expect. Now, buckle up and get ready to jump on the list with all the necessary parts of this particular built.
$1,400 Video Editing PC Late 2019 Parts List
- NZXT H510 Compact ATX Mid-Tower PC Gaming Case (B&H, Amazon)
- AMD Ryzen 7 3700X 8-Core (B&H, Amazon)
- MSI MPG X570 Gaming Plus Motherboard (B&H, Amazon)
- Samsung 970 EVO Plus SSD 500GB (B&H, Amazon)
- Corsair LPX 32GB (2x16GB) 3200MHz C16 DDR4 DRAM (B&H, Amazon)
- EVGA GeForce RTX 2060 SUPER XC Gaming GPU (B&H, Amazon)
- EVGA SuperNOVA 550 GM 550W 80 Plus Gold Modular PSU (B&H, Amazon)
The CPU
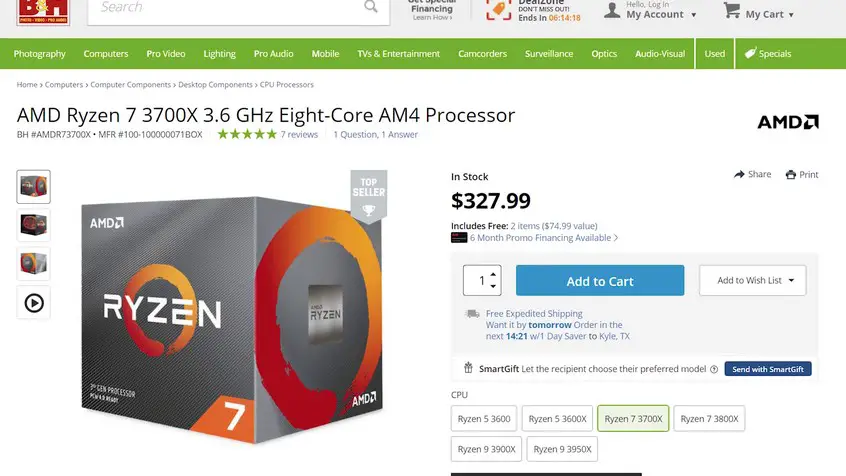
Needless to say, the CPU is the core of any build, it always is. That is even more true for creative professionals that utilize software that relies heavily on the CPU to do the heavy lifting in decoding and encoding each frame of the ingested footage.
Matt chose the most appreciated line of CPU’s of the moment: the Ryzen 7 3700X, an 8 core and 16 threads beast that will manage any kind of footage you throw at it. If your pockets go deep enough, you can upgrade to the 12 core and 24 threads Ryzen 3900X, the smaller brother of probably the CPU with the best reviews on the market right now, the Threadripper 2950X.
The Motherboard
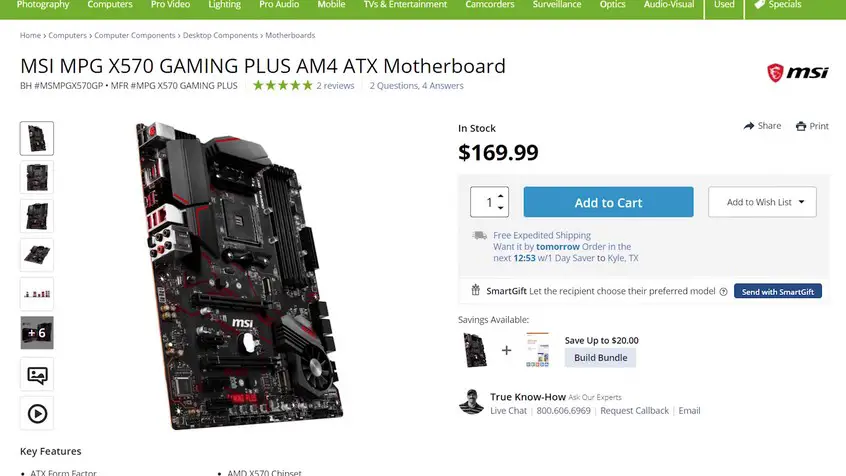
Once you’ve chosen the core, you can move to the board that will host your CPU. In this case, we are looking for an AM4 board, and we want one with a good chipset, something that can take advantage of the abundant PCI lanes of Ryzen. The MSI X570 Gaming Plus is a good choice, a sturdy board with a lot of features with just the exception of onboard WiFi.
That is easily solvable with a small USB adapter, although in a professional setup, you should consider using cabled access to the web. If that is not enough, you can always upgrade your board to an X570 WiFi edition and settle the matter with ease.
The RAM

Good news to those who are going for a computer build lately is the end of the crazy RAM prices we’ve seen in the recent past. We don’t know if it was miners or other factors, but memory prices skyrocketed to unbelievable excesses in the last two years, but thankfully they are now back in a normal range.
With that out of the way, 32GB of Corsair LPX DDR4 RAM will be more than enough for any modern NLE without compromising on that, since it’s going to be vital for the smoothness of your day to day experience, and also if you are planning to work on longer and higher resolution projects. So, since it’s “better safe than sorry” if you can afford it, it’s better to upgrade immediately to 64GB and avoid any possible bottleneck in the future.
The Storage
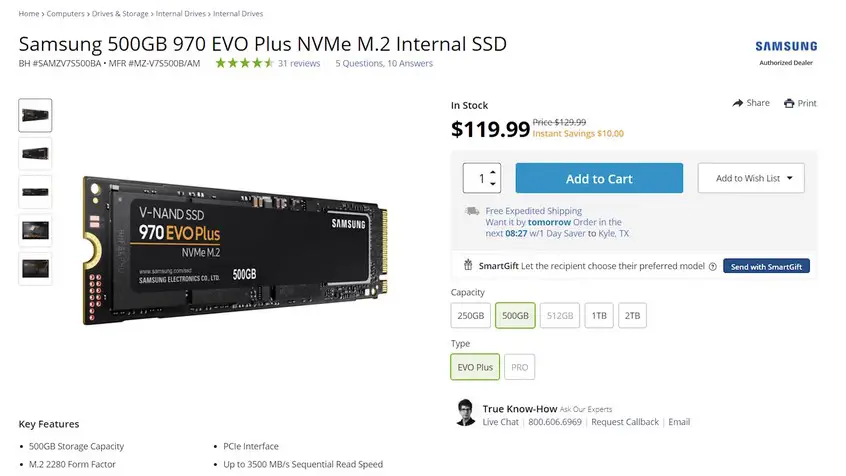
NVME SSDs have been a godsend. If you’ve experienced the speed bump from a mechanical hard drive to a standard SSD and your jaw dropped to the floor, prepare to be amazed again. The performance of these new generations of SSDs is stellar, with write and read speed above the 1000MB/s.
The best option is to have the whole OS and software on one disk, while a second standard SSD can be the scratch disk. Do not keep your footage on the same drive where you installed your OS since your whole experience will suffer for that. You have two choices available, both from Samsung, the 970Evo Plus in 500GB or 1TB size, depending on your budget.
The GPU
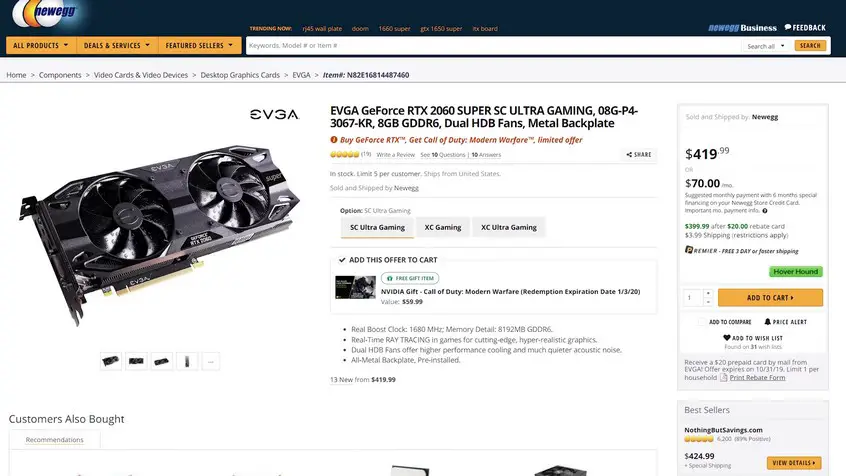
There’s a lot of misconceptions around GPUs. If you’re editing in Premiere Pro 2020 and you do not use that many effects, you’re actually using a fraction of the GPU computing power, while most part of the work is done by the CPU. That’s why you don’t need to pump up the GPU so much, and you could settle with an EVGA 2060 right off the bat.
On the other hand, if you are using a lot of GPU accelerated effects or DaVinci Resolve instead of Premiere, then your workflow will have great benefits if equipped with an upgraded GPU, like the EVGA RTX 2080. The latter is a major upgrade considering the budget side, so be sure to have the beefier CPU before thinking of such a choice.
The Case
The whole build will need a container to hold it. There’s no actual advantage in going with something fancy unless you’ve got a specific taste for some kind of design. The recommendation by Matt is the same that he gave in the budget build – the NZXT H510.
It’s simple and clean, it has good airflow, and it’s sturdy enough. That is almost all we need in a case, right? If you need a case with a bay for optical disks, you have to make another choice, though. An excellent case with an internal drive is the Phanteks Pro M series.
The PSU
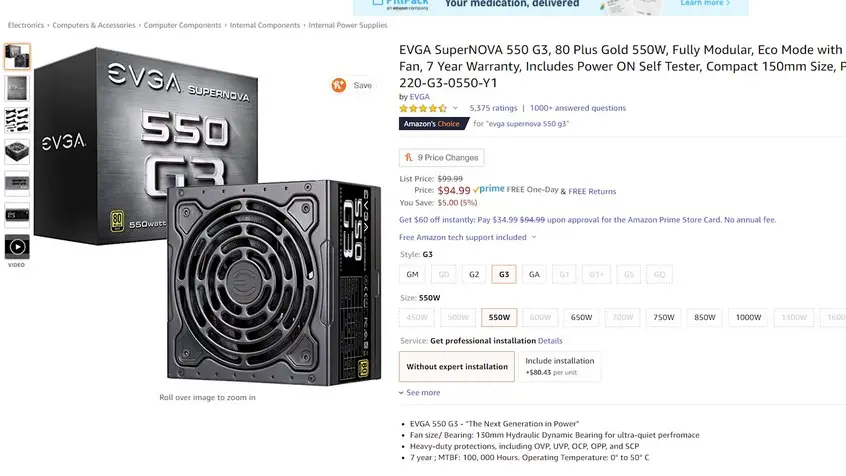
The power supply is an often overlooked component of most builds when it actually pumps the juice that makes every piece work correctly. If there is something wrong with the PSU, you could risk ending with some fried electronics, and that’s not a good thing.
If your custom PC is not making use of any of the upgrades then a 500W EVGA SuperNOVA will be more than enough. It’s an 80+ Gold certified power supply, a great piece of hardware for a great build. If you plan to upgrade your workstation down the road, though, chances are you may get close to the limit of the PSU, so just to have some more headroom, it’s better to pick the EVGA SuperNOVA with 750W.
That concludes the main build. There are a few spare parts to add in the mix like a mouse or a keyboard, but that can easily be left to personal taste.
As a suggestion, since you’re going to use this custom workstation for video editing, it’s better if you throw in some cash on the monitor as well. After all, that’s where you’re going to view and evaluate your work, right?
So, do not worry, get your parts and try to assemble your first build, we can guarantee that the satisfaction of working on the computer you’ve built will definitely be worth it.
[source: Matt WhoisMatt Johnson]
Disclaimer: As an Amazon Associate partner and participant in B&H and Adorama Affiliate programmes, we earn a small comission from each purchase made through the affiliate links listed above at no additional cost to you.


