The following post is a guest post by LA-based director of photography, Lidia Nikonova , who works on narrative, documentary projects, and music videos in the US, UK, Russia, Australia and France. Her clients include Spotify, VICE, VICELAND, SSENSE, amongst many others. She has shot music videos for artists such as The Weeknd, Lil Yachty, King Princess, and many more.
Vertical videos became industry-wide format
Vertical videos grew from amateur phone recordings into its own industry with a range of platforms heavily relying on it. After the instant success of Snapchat and Instagram Stories major brands started to adapt their visuals to phone screens. What followed was Instagram TV and Spotify Videos that pioneered the shift to high-end videos specifically designed for viewing on smartphones. Major online platform such as Vimeo, YouTube and Facebook enhanced their vertical video integration with instant full-screen playback. In other words vertical format is here to stay, whether you want it or not.
This doesn’t mean that cinemas will instantly start building vertical screens and that you will have to turn your TV on its side to watch your favourite shows. But it does mean that cinematographers have to adjust their workflows to be able to create new content now that over 50% of videos are watched on smartphones (Ooyala, 2016).
Many filmmakers wish to retain high quality of their videos when transitioning to vertical format and so shooting on a smartphone camera is not an option. On the other hand, shooting vertically on professional cinema equipment is a challenge as the cameras are not designed to be used this way. This article is here to de-mystify the vertical workflow and common problems that arise when you try to turn everything sideways, literally.
Aspect ratios & Resolution
Aspect ratios vary depends on the device and platform. There are myriads of different specs, most common including 2:3 aspect ratio, 720 x 1280 or 608 x 1080 resolution.
In order not to get confused, it is worth looking at resolution of the displays themselves. For example, iPhoneX has a resolution of 1125 x 2436 with an odd 375:812 ratio, whilst iPhone Plus models have a resolution of 1080 x 1920, making it 9 : 16 aspect ratio. The new iPhone Xs Max has the highest screen resolution (2688 x 1242 or 207 : 448).
The simplest solution is to shoot with a 9:16 aspect ratio and have a safety area on each side that may be invisible on taller screens (i.e., on iPhone Xs). This aspect ratio will enable the content to play full screen universally across most of platforms, including Instagram and Facebook. The reason why 9:16 became a baseline aspect ratio is simple – this is the native aspect ratio for the majority of imagers. Important thing is to remember that some platforms, including Facebook, may mask videos to 2:3 if the uploaded file is taller. In order to avoid such issues you should research each platform’s specific requirements and test uploading your exports.
Next step is to determine whether you need to mount the camera sideways. At first glance it seems rather unnecessary to mount the camera with all its accessories sideways just so to utilize the full sensor with its 4K, 6K, or 8K capacity for a vertical HD delivery. If you shoot in 16:9 mode horizontally at 2K resolution, and then crop it in 9:16, your effective resolution will be 648 x 1152 pixels, which is slightly below the top resolving capacity of the high end smartphone displays.
Still, that resolution is well within the limits of acceptance by most platforms. When you shoot web content, perceptual resolution or sharpness of the image only partially depends on pixel count as the video goes through various forms of compression based on the streaming speeds. In other words, delivering video in ‘vertical 2K or 4K’ may decrease its perceptual sharpness as it will be significantly compressed for faster streaming.
In my experience the best results were achieved when the resolution was at the most common standard for vertical videos, which is 1080 x 1920. To achieve this, the two options are to either shoot at 4K UHD (or higher) horizontally and then crop in to 9:16 or to mount the camera sideways. The first option is definitely easier in terms of gear usability, but it creates an unnecessarily large waste of data as over a half of the sensor’s resolution won’t be in use. Mounting the camera sideways (especially to a gimbal or steadicam) may be a logistical nightmare but will allow you to use the sensor effectively.
Luckily a number of manufacturers started to provide cages that can make cinema cameras mount sideways effortlessly. With some accessories re-arranged, you can easily use these rigs for gimbals, steadicam and handheld.
The most annoying bottleneck of horizontal to vertical conversion is on-set monitoring. To the discomfort of any camera operator most viewfinders are not designed to be used vertically and will require re-rigging.
Anamorphic Vertical Videos
There are pros and cons for shooting vertical videos on anamorphic lenses. There are good news who those who love the anamorphic look – oval bokeh, reduced depth of field, flare, and so on can be in your vertical videos. However, this makes the sideways conversion slightly more complicated. If both the camera and the anamorphic lens are mounted horizontally, the field of view of the 9 : 16 crop will be too narrow to really feel the lenses. If for some reason one decides to have the camera mounted horizontally and the lens – vertically, most software won’t have presets to de-squeeze the footage making it unnecessarily time consuming.
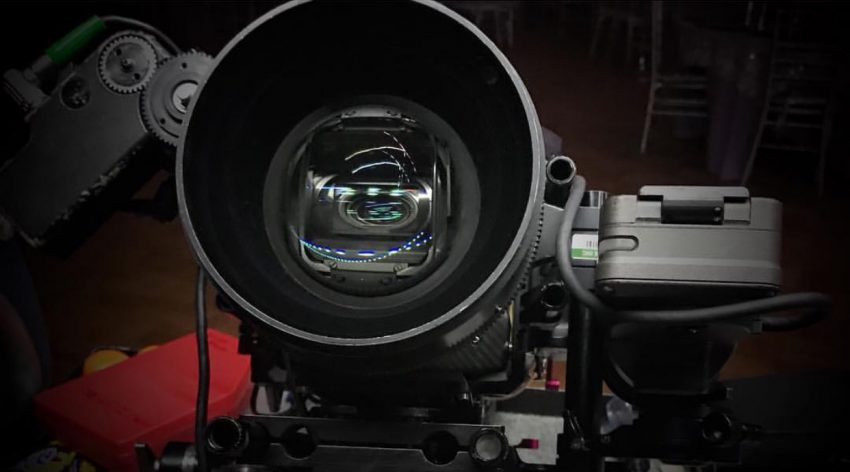
Image courtesy of Robin Pabello
The most efficient solution is to mount both the sensor and the lens sideways. Depending on the camera sensor the resolution may vary but you will have the 2.39:1 aspect ratio whether you choose x1.3 or a x2 squeeze lenses. The next step is to load in 16:9 frame lines for monitoring as this will become the desired 9:16 after the footage is rotated 90-degrees in post.

Image courtesy of Robin Pabello
If you are shooting on an ARRI camera, ARRI Frameline Composer is a useful tool to help export correct frame lines straight into the camera. RED has RED Guide Creator that performs the same function and can be downloaded of their website.
Post pipeline will have to accommodate for a series of manipulations with the footage: at first the anamorphic de-squeeze followed by a crop into 16 : 9 aspect ratio, followed by a 90- degree rotation. The result may be downscaled to a desired resolution or put into a horizontal 16 : 9 container depending on the upload requirements for each platform.
Earlier this year I shot a vertical anamorphic music video for The Weeknd. The project was released exclusively on Spotify and viewed by millions of fans. Optical qualities of the vintage anamorphic glass made the footage look stylized, even surreal. Anamorphic lenses work perfectly with the vertical format – wider focal lengths distort the perspective in an unusual way, the flare spreads vertically, whilst the field of view increases at the top and bottom of the frame. Overall, this looks makes the project look more dramatic and offsets it from majority of the vertical videos shot today.
And some stills from the vertical version of this video:
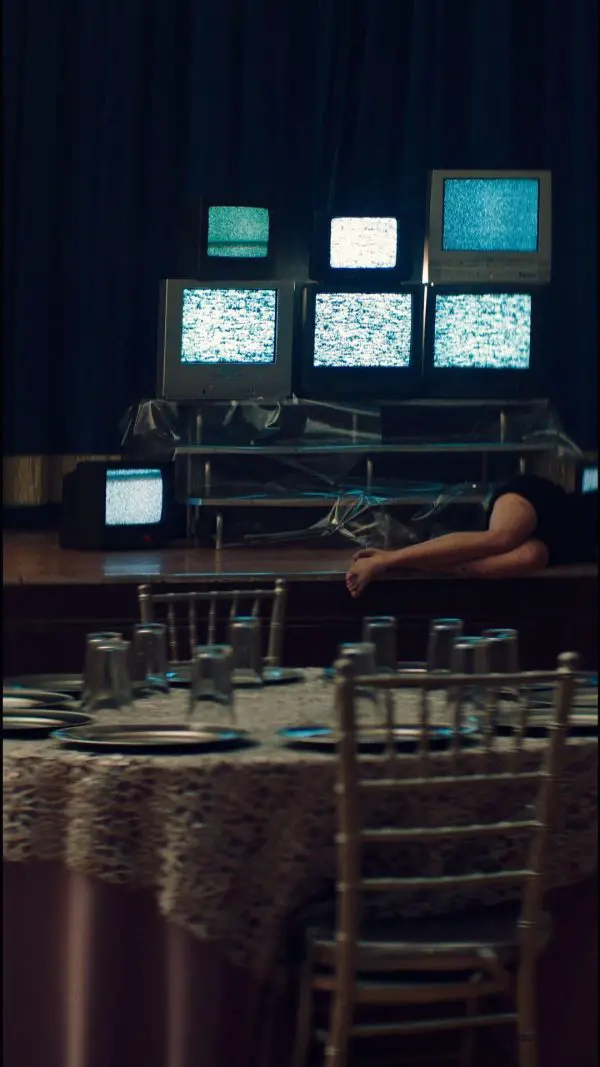
Images courtesy of XO / Spotify

Images courtesy of XO / Spotify

Images courtesy of XO / Spotify
To me, vertical videos are yet another format that helps us share stories. Smartphone market organically created a place for it and it’s up to content creators, directors and cinematographers to make the best use of it. Vertical videos are not competing with horizontal videos, they are filling in a niche that hasn’t been occupied yet.
To check out more of Lidia’s work head over to her website here.
Disclaimer: As an Amazon Associate partner and participant in B&H and Adorama Affiliate programmes, we earn a small comission from each purchase made through the affiliate links listed above at no additional cost to you.


