The editing process is not only one of the most critical stages of the entire post-production workflow of any film project, but typically it’s the most time-consuming one. No only that, but there are so many ways you can go about it that could make the task even more challenging and overwhelming.
In the video ahead, Simone Cade of DSLRGuide explains his personal video editing process, by covering most of the struggles he stumbled upon while editing his latest short film. Overall, he brings some insightful tips and tricks to the table that might help you to organise better and improve your overall video editing workflow.
As Simon points out, editing typically starts with matching up the sound with the rough footage of your project. Once the sound is in line, you can make a separate folder in your NLE of choice for each scene where you need to put all the media related to the corresponding scene. Then you can choose a shot and watch every single take. A good practice that might also help you is to mark the best takes while shooting so that you can save some time while editing. Picking the best take could be tricky and confusing, so you might want to choose the process of elimination instead.
For instance, you can quickly reject all the takes that have some technical issues along with those where you don’t like the overall performance of your talents. Having at least two or three options of every shot that will end up in your final edit at this stage will be more than enough to complete your edit. Even though you’re eliminating takes, it’s a good practice to move the unnecessary ones to the end of the timeline, so that you can easily access them if you need to along the line.
Once you’ve picked the favourite takes, you can start assembling the first rough cut of your scene. At this stage of the process, you will have the chance to re-evaluate the footage in a context of the other shots you’ve picked for your rough edit. Sometimes, there might be takes that just don’t match the mood of the other cuts, so this is the point where you can scroll to the rejected clips and start swapping.
The longest step of the process is refining your rough edit. You need to fine-tune the dialogue pacing, cut or extended some pauses between lines, etc. If possible try to recreate a natural flow of the pauses in a conversation. Watch your scene a couple of times and refine all these small details that you might consider as inappropriate or unnatural.
As Simone points out, this approach should be part of your personal intuition so trust your instincts as an editor and move forward. Don’t be afraid to experiment and find out what feels right for you and your project. Eventually, you will star to see more and more possibilities and get a clearer idea of what you’re trying to achieve.

An excellent way to deal with the weariness of the refinement of your edit is to share the rough cut of your film with your collaborators. You’ll be more than surprised how many ideas your cast and crew might give you. If you are director of the project, the last call will be yours, of course, but it this doesn’t mean you shouldn’t try the suggested ideas your team might provide you with feedback.
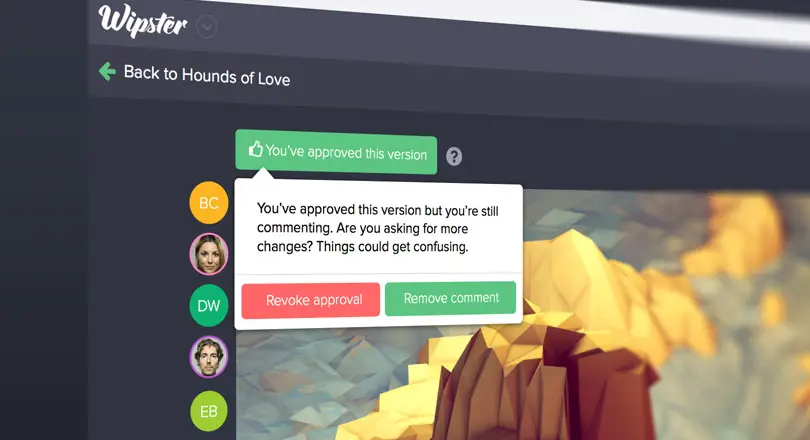
Using Wipster can be a great way to share the rough cuts of your film with your collaborators and receive constructive suggestions that you can later utilise to improve your final version of the film. That’s the reason why feedback and collaboration are so important for every project.
If your video editing process varies and you want to share your experience with the community, feel free to do so in the comment section below.
[source: DSLRguide]
Disclaimer: As an Amazon Associate partner and participant in B&H and Adorama Affiliate programmes, we earn a small comission from each purchase made through the affiliate links listed above at no additional cost to you.


