Being an integral part of high-end editing and colour grading workflows, hardware control panels have been around for years. They are still extensively utilized by many seasoned professionals as extremely effective tools that provide not only efficiency and flexibility in post, but also make the life of editors and colorists alike much easier and a lot more effective. Once you get used to one of these devices, it’s really hard to go back.
The only drawback is the price tag they usually come with. Most of the professional control panels cost tens of thousands of dollars, not to mention the fact that usually they are designed to work in conjunction with a certain software platform which is not always the most practical solution, especially when you need to switch between a handful of applications.
Fortunately, there is a simple workaround that will make your life in the editing bay a lot easier and definitely way more affordable. In the following video, we’ll see how to use a standard MIDI controller to trigger effectively certain functions in Final Cut X.
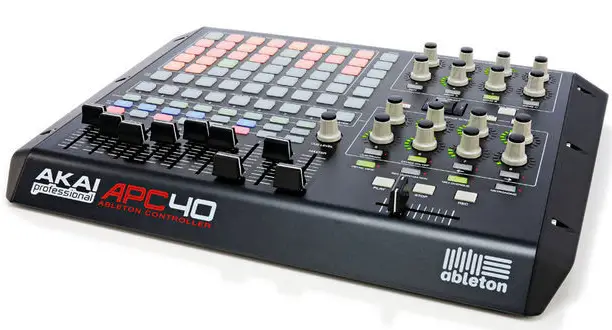
The above video is just an example how to tether and program a Traktor Kontrol X1 and Final Cut X, however, you can apply this workflow virtually with any other MIDI controller with a decent layout and every NLE that supports hotkeys as an option. In fact, most MIDI controllers and DAW hardware interfaces like Akai APC 40, Reloop BeatPad 2, Behringer CMD LC-1 Trigger-Based MIDI Controller etc will work as long as they send out common MIDI protocols to external devices.
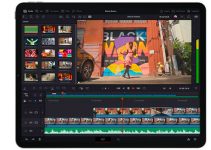
The most important aspect of the workflow is to choose a MIDI controller with a proper layout that fits your personal needs and preferences depending on the software that you tend to use. For instance, if you are going to utilize such a device in conjunction with DaVinci Resolve, than you are going to need an interface that has, at least, a couple of jog wheels, knobs and faders to replace all your input devices, or instead, you can get a controller with more pads to support your keyboard and mouse editing.

Either way, choose your controller carefully and even write down upfront all the functions that you use at the most and want to assign to the external platform. Once you’ve picked your controller you are also going to need a dedicated software that translates the incoming mini signal to a keyboard hotkey. Bome MIDI Translator Pro 1.8 is a reasonably priced solution that will do a decent job, plus it provides a relatively easy setup.
In essence, with this piece of software, you can control your computer from any MIDI controller or another related device with a few simple tweaks. Since you can capture MIDI in the translator options you need to enable “capture midi”, move the knob, pad or fader on your controller and click on the incoming midi message and then assign the hotkey. You will find full setup instructions on Bome MIDI Translator Pro’s website.
Once the MIDI controller and NLE are both set up, up and running you can assign as many hotkeys as you’d like. It takes some time before you get used to, but the time and effort you are going to spend are definitely worth it.
Don’t expect that this setup is going to replace a professional hardware control panel entirely, however, it’s still a great alternative solution that won’t cost you an arm and a leg and definitely will enhance your workflow and save you a lot of time. At last but not least, it will make your editing workflow a lot more enjoyable and full of fun.
B&H Order Links:
Behringer CMD LC-1 Trigger-Based MIDI Controller
TRAKTOR KONTROL X1 Mk2 Add-On DJ Controller
Reloop BeatPad 2 – Cross Platform Controller for iPad, Android & Mac/PC
[via: PVC]
Disclaimer: As an Amazon Associate partner and participant in B&H and Adorama Affiliate programmes, we earn a small comission from each purchase made through the affiliate links listed above at no additional cost to you.


