There are numerous ways to create more depth in your shots from using various popular cinematography techniques such as utilising high contrast lighting, shooting wide open, getting creative with angles to adding foreground elements, moving your camera, changing the perspective and everything in between. In general, every trick that helps to create better three-dimensionally perceived images using the two-dimensional medium is warmly welcomed by the majority of cinematographers and seasoned professionals.
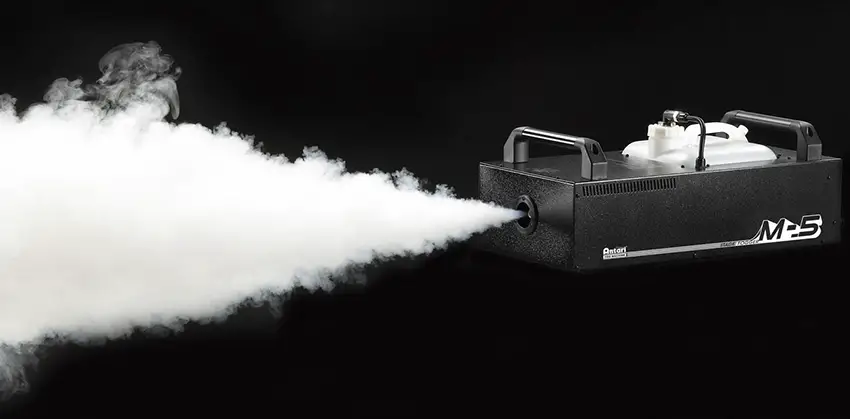
However, sometimes a shallow depth of field may not be enough or simply isn’t the right solution for achieving the desired effect. So, utilising a fog machine may do the job instead. It’s another commonly used, yet underrated technique that can quickly add more depth to your shots and raise the aesthetics of your composition.
Even the slightest bit of haze in a room can add a tremendous amount of depth to your scene as it will almost immediately create a distinct separation between the foreground and background elements in the frame by bringing a particular dreamlike look to your shots.
The following video tutorial produced by Tom Antos showcases what a simple fog machine and some basic lighting can do for your production.
Using fog machine can be extremely beneficial in situations where you tend to use various light sources that will be visible in your shots, yet there are many other instances where this technique may also come in handy. The Film Riot‘s episode “Cinematography with Fog” brings even more useful insights on the topic.
One of the important takeaways worth mentioning here is the fact that you don’t want to overdo with the fog, as this is one of the easiest ways to ruin your shot. You also need to spread the haze evenly throughout the room, using some sort of fan, and make it invisible in camera and to your audience.
Even adding a bit of fog can drastically improve the feel of your shot, especially in low light situations where using only a couple of light sources will be more than enough to produce a stunning Spielberg-style imagery.
The good news is that fog machines are an extremely affordable piece of equipment and a great starting point. You can easily get one for around 50-100 dollars or so, depending on the liquid that you will be using.
If you want to dip your toes in the water and spend some extra cash for a more professional tool you can get a hazer, that distributes a thinner more invisible haze compared to a conventional entry-level fog machine.
Hazers are designed to run continuously and are usually always ready go whereas a fog machine emits bursts of fog and then usually have to stop to reheat.

Ultimately, there are so many looks that you can achieve utilising either a fog machine or hazer that I encourage you to get one and do some test on your own. I’m pretty sure that you will be more than surprised by the plethora of stylistic, technical, and aesthetic results you can get, no matter if you are going to shoot a daylight interior or some creepy low-light scene.
[via: Premium Beat]
Disclaimer: As an Amazon Associate partner and participant in B&H and Adorama Affiliate programmes, we earn a small comission from each purchase made through the affiliate links listed above at no additional cost to you.


Hazers are great! We use them all the time in our shoots. Just keep in mind if you’re doing multicam shoots it will be tough to match sometimes. The density of the fog you create changes minute to minute so sometimes you’ll have a different effect from shot to shot. Play with the fog machine or hazer before so you get the most out of your shots and don’t run into a matching issue. Also another problem we’ve run into is using big soft lights with fog. At certain angles it just washes out the shot. Fog is used best when doing very dramatic lighting that has beams of light.
Good to know, Jeven! Thanks for sharing! Cheers,